Converting a rear bathroom to a center bath in an Airstream, Part 2
Moving the bathroom in a vintage Airstream takes a lot of thought, planning and details. You have to think about moving pipes, plumbing, tanks and more. Plus, you have to actually to remove a lot of parts to get to your blank space.

Removing walls and cabinets from an Airstream
The demolition of an Airstream should be done with care, most of the time. In our case, we like to reuse as many original parts as possible. Sometimes that just doesn’t work out. You’ll likely discover there are rivets hidden in places you missed. You’ll start tugging on a cabinet or a door and something is amiss. You just can’t budge it. RIVETS ARE STRONG. And, they are EVERYWHERE. And then you just destroyed your bathroom closet. OOPS.
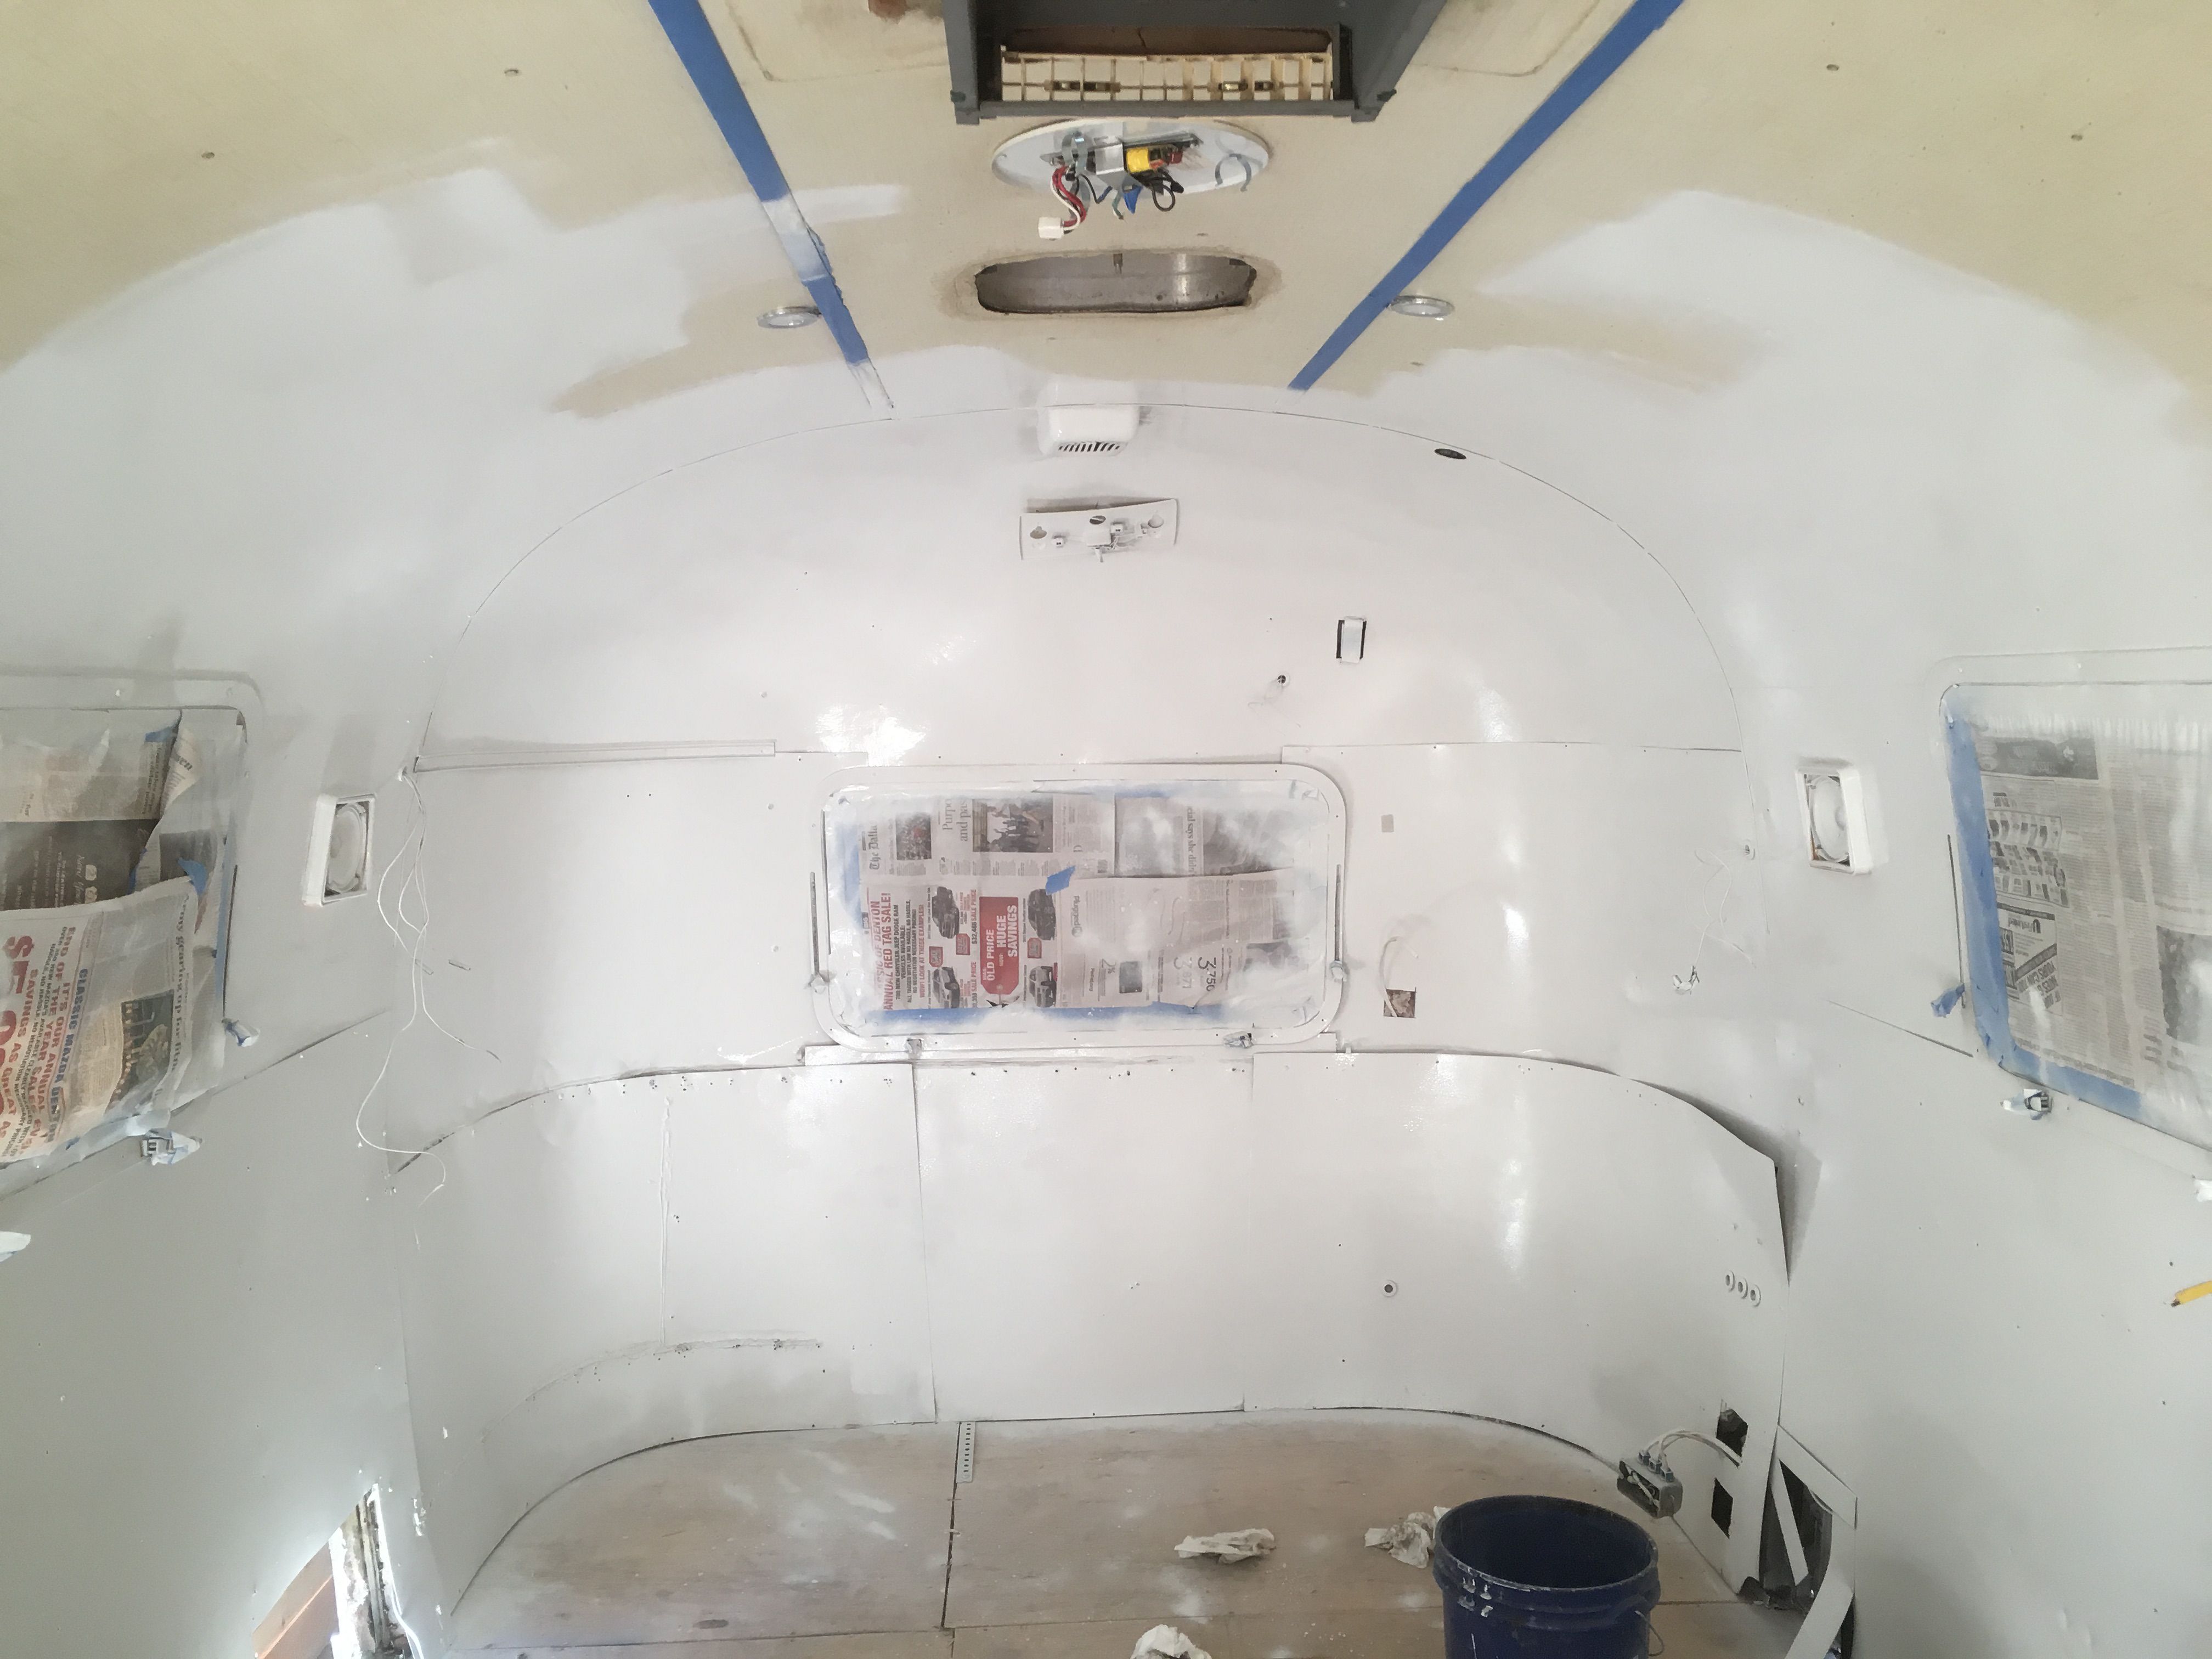
The few times I’ve taken apart an Airstream, I’ve found that the plumbing stacks, like your drains and vents to the roof, were put in AFTER the cabinets. The woodworking department put the cabinets and walls in and then the plumber came in. This is great for the factory, but not so great for me. Some things are just going to get destroyed.

Planning the shower and toilet area in a vintage Airstream
Once the demo was done and the parts were out, I started planning and drawing where my shower, bath and toilet were going to be. I knew I was using the curved shower basin and needed to make sure there would be some walking space, or a hallway of some sort. We planned for the queen bed to be in the back and needed a way to get to it.
For the shower area, I drilled holes for the drain to my new 40 gallon gray tank that is under the trailer and between the axles. I then built a little platform for the tub, to hold it in place and give it a solid foundation. The space above the wheel well will be an empty void that house the support beams for the curved shower wall.
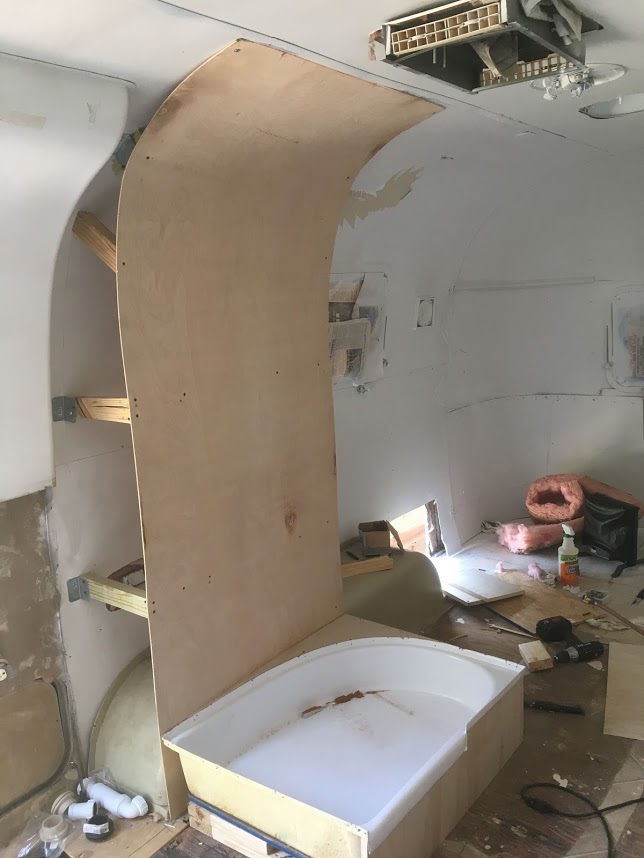
I had to use a special waterless p-trap for the plumbing underneath the tub that leads to the gray tank. I somehow managed to measure perfectly and got it to fit. It is called a HepVo waterless trap and is quite expensive, but was absolutely necessary. A standard p-trap would not have fit without sacrificing a ton of headroom in the shower. I’m not a tall dude, but the more headroom in a TINY shower, the better. There are a lot of details that go into getting the plumbing to line up with the new gray tank, but for this post, I’m simplifying it.
Building the Airstream shower walls
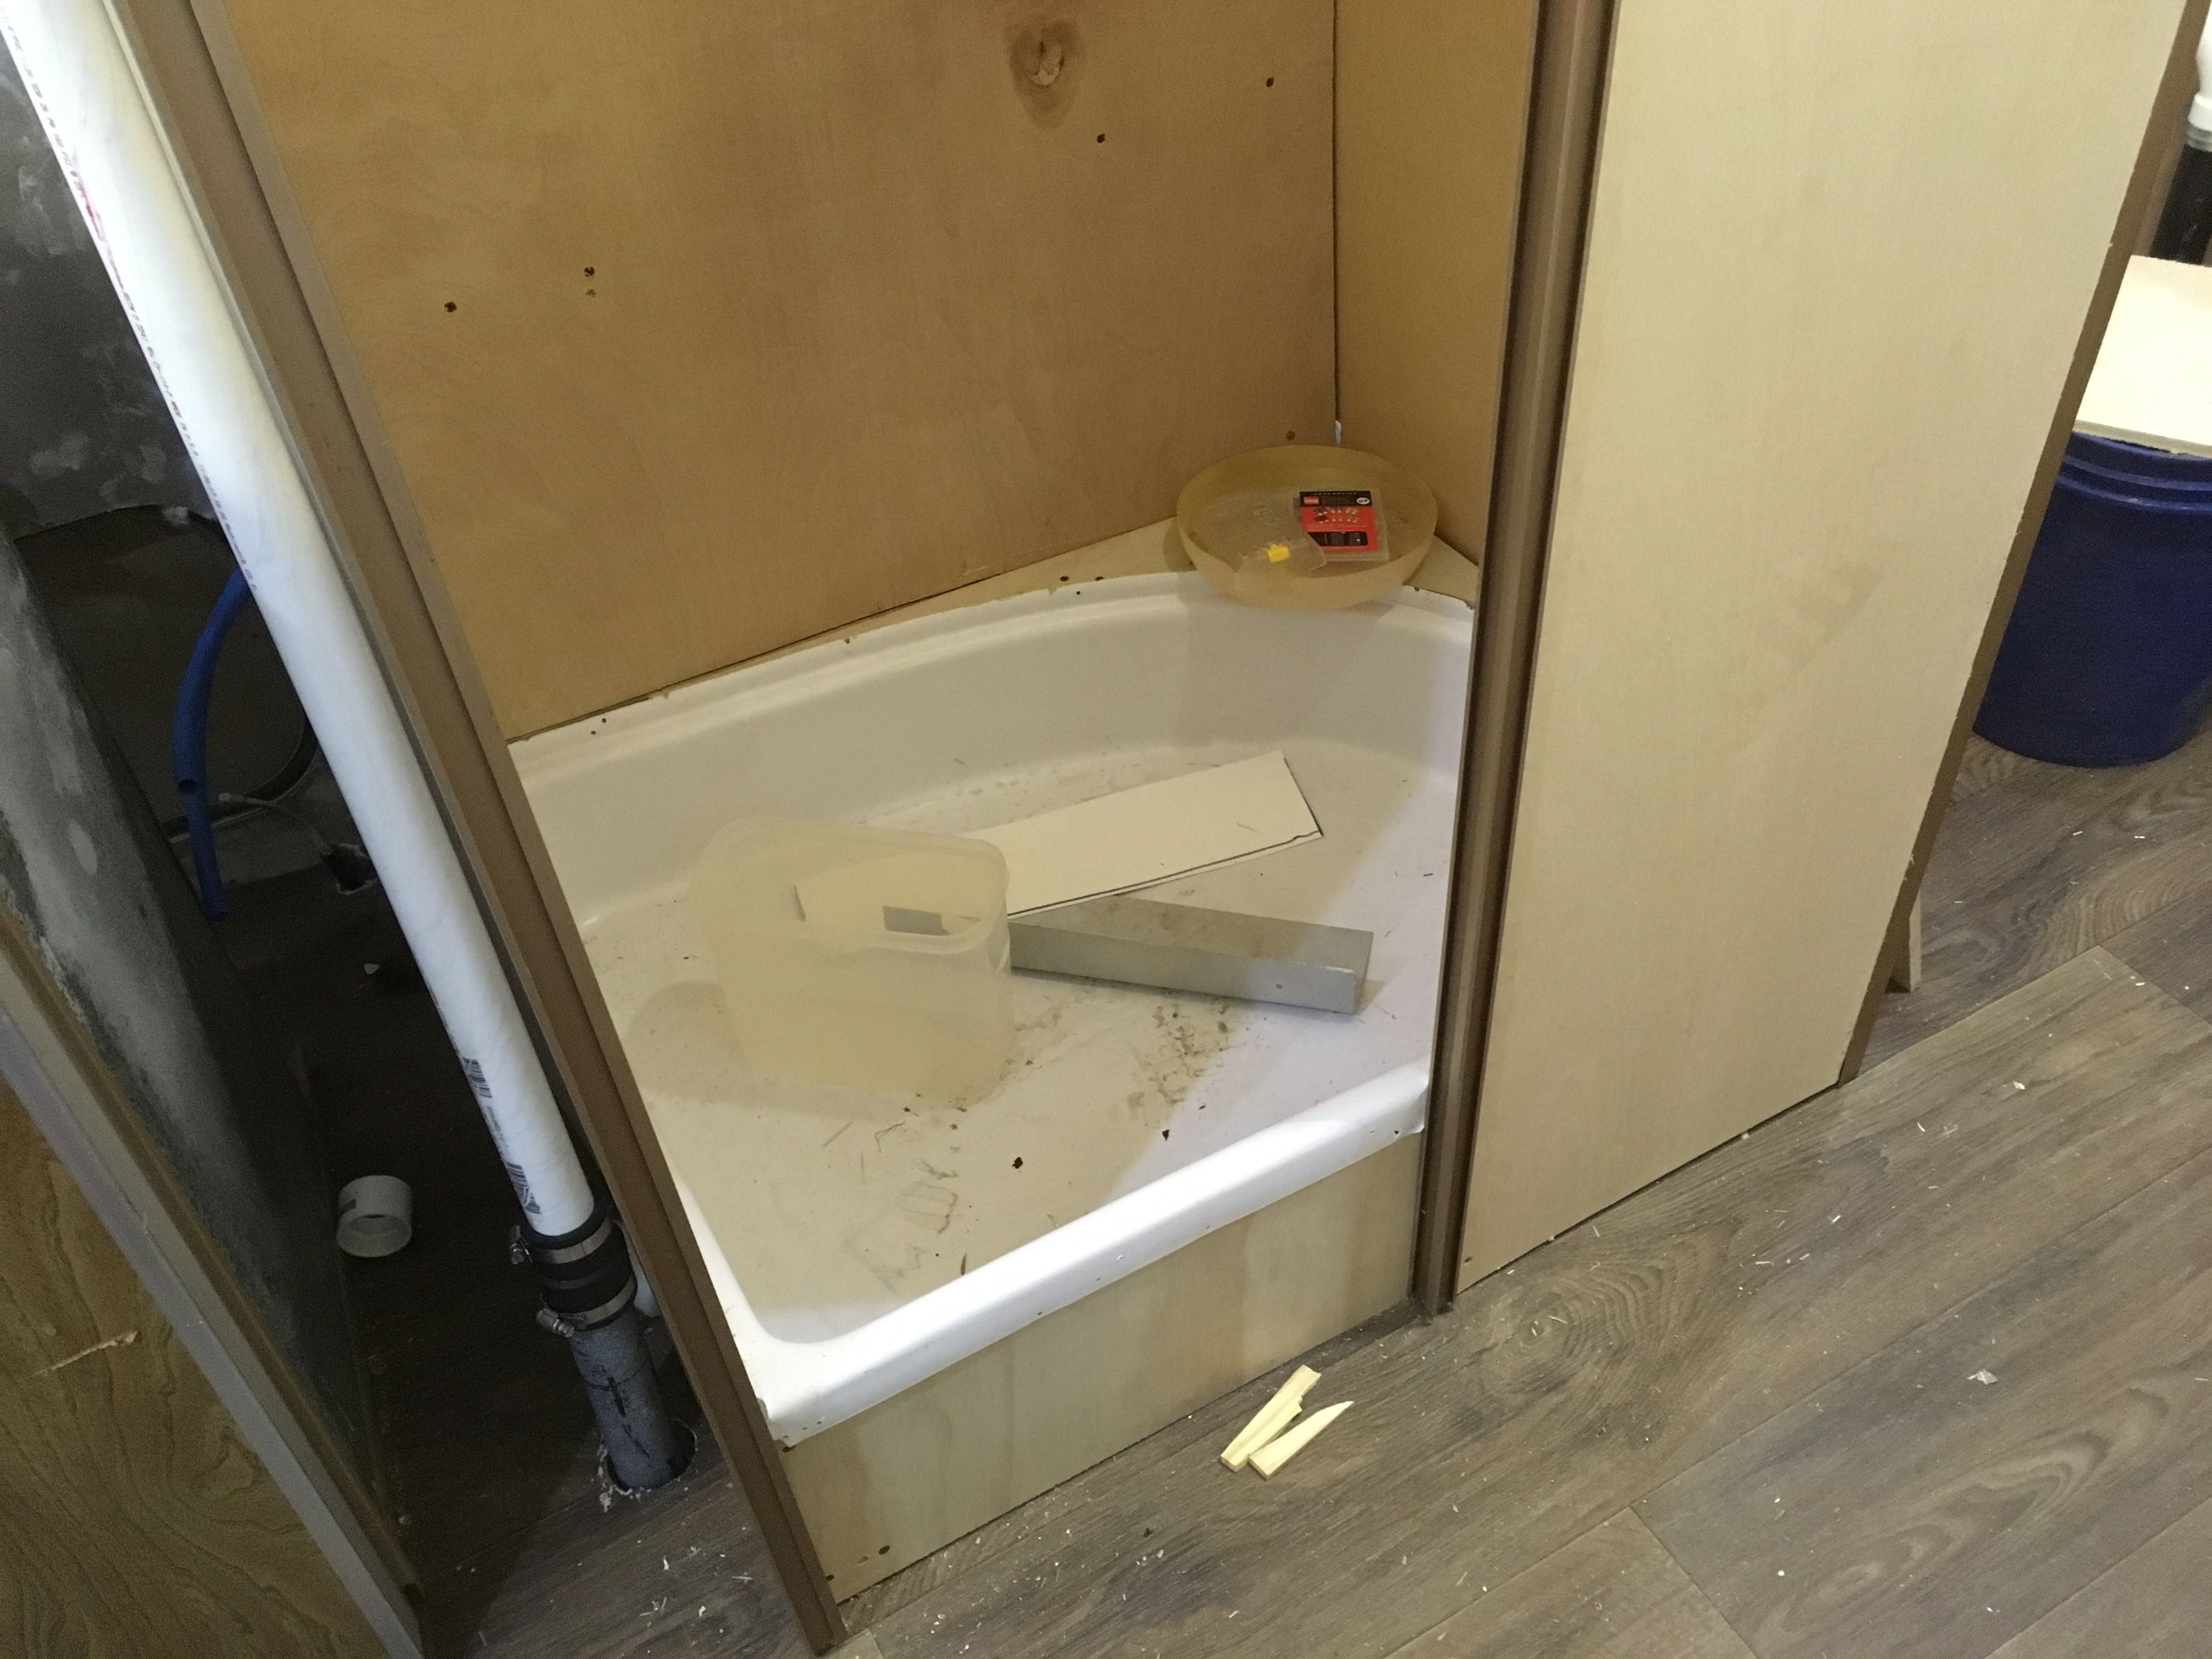
After the drains and tank were set, it was time to build the rest of the shower and bathroom. I used the old curved walls as templates and cut new walls out of ½ inch plywood. This make the shower area strong enough to withstand a person leaning or falling into it. Previously, all walls in this vintage Airstream were ¼ inch plywood. That would not work for a shower wall.
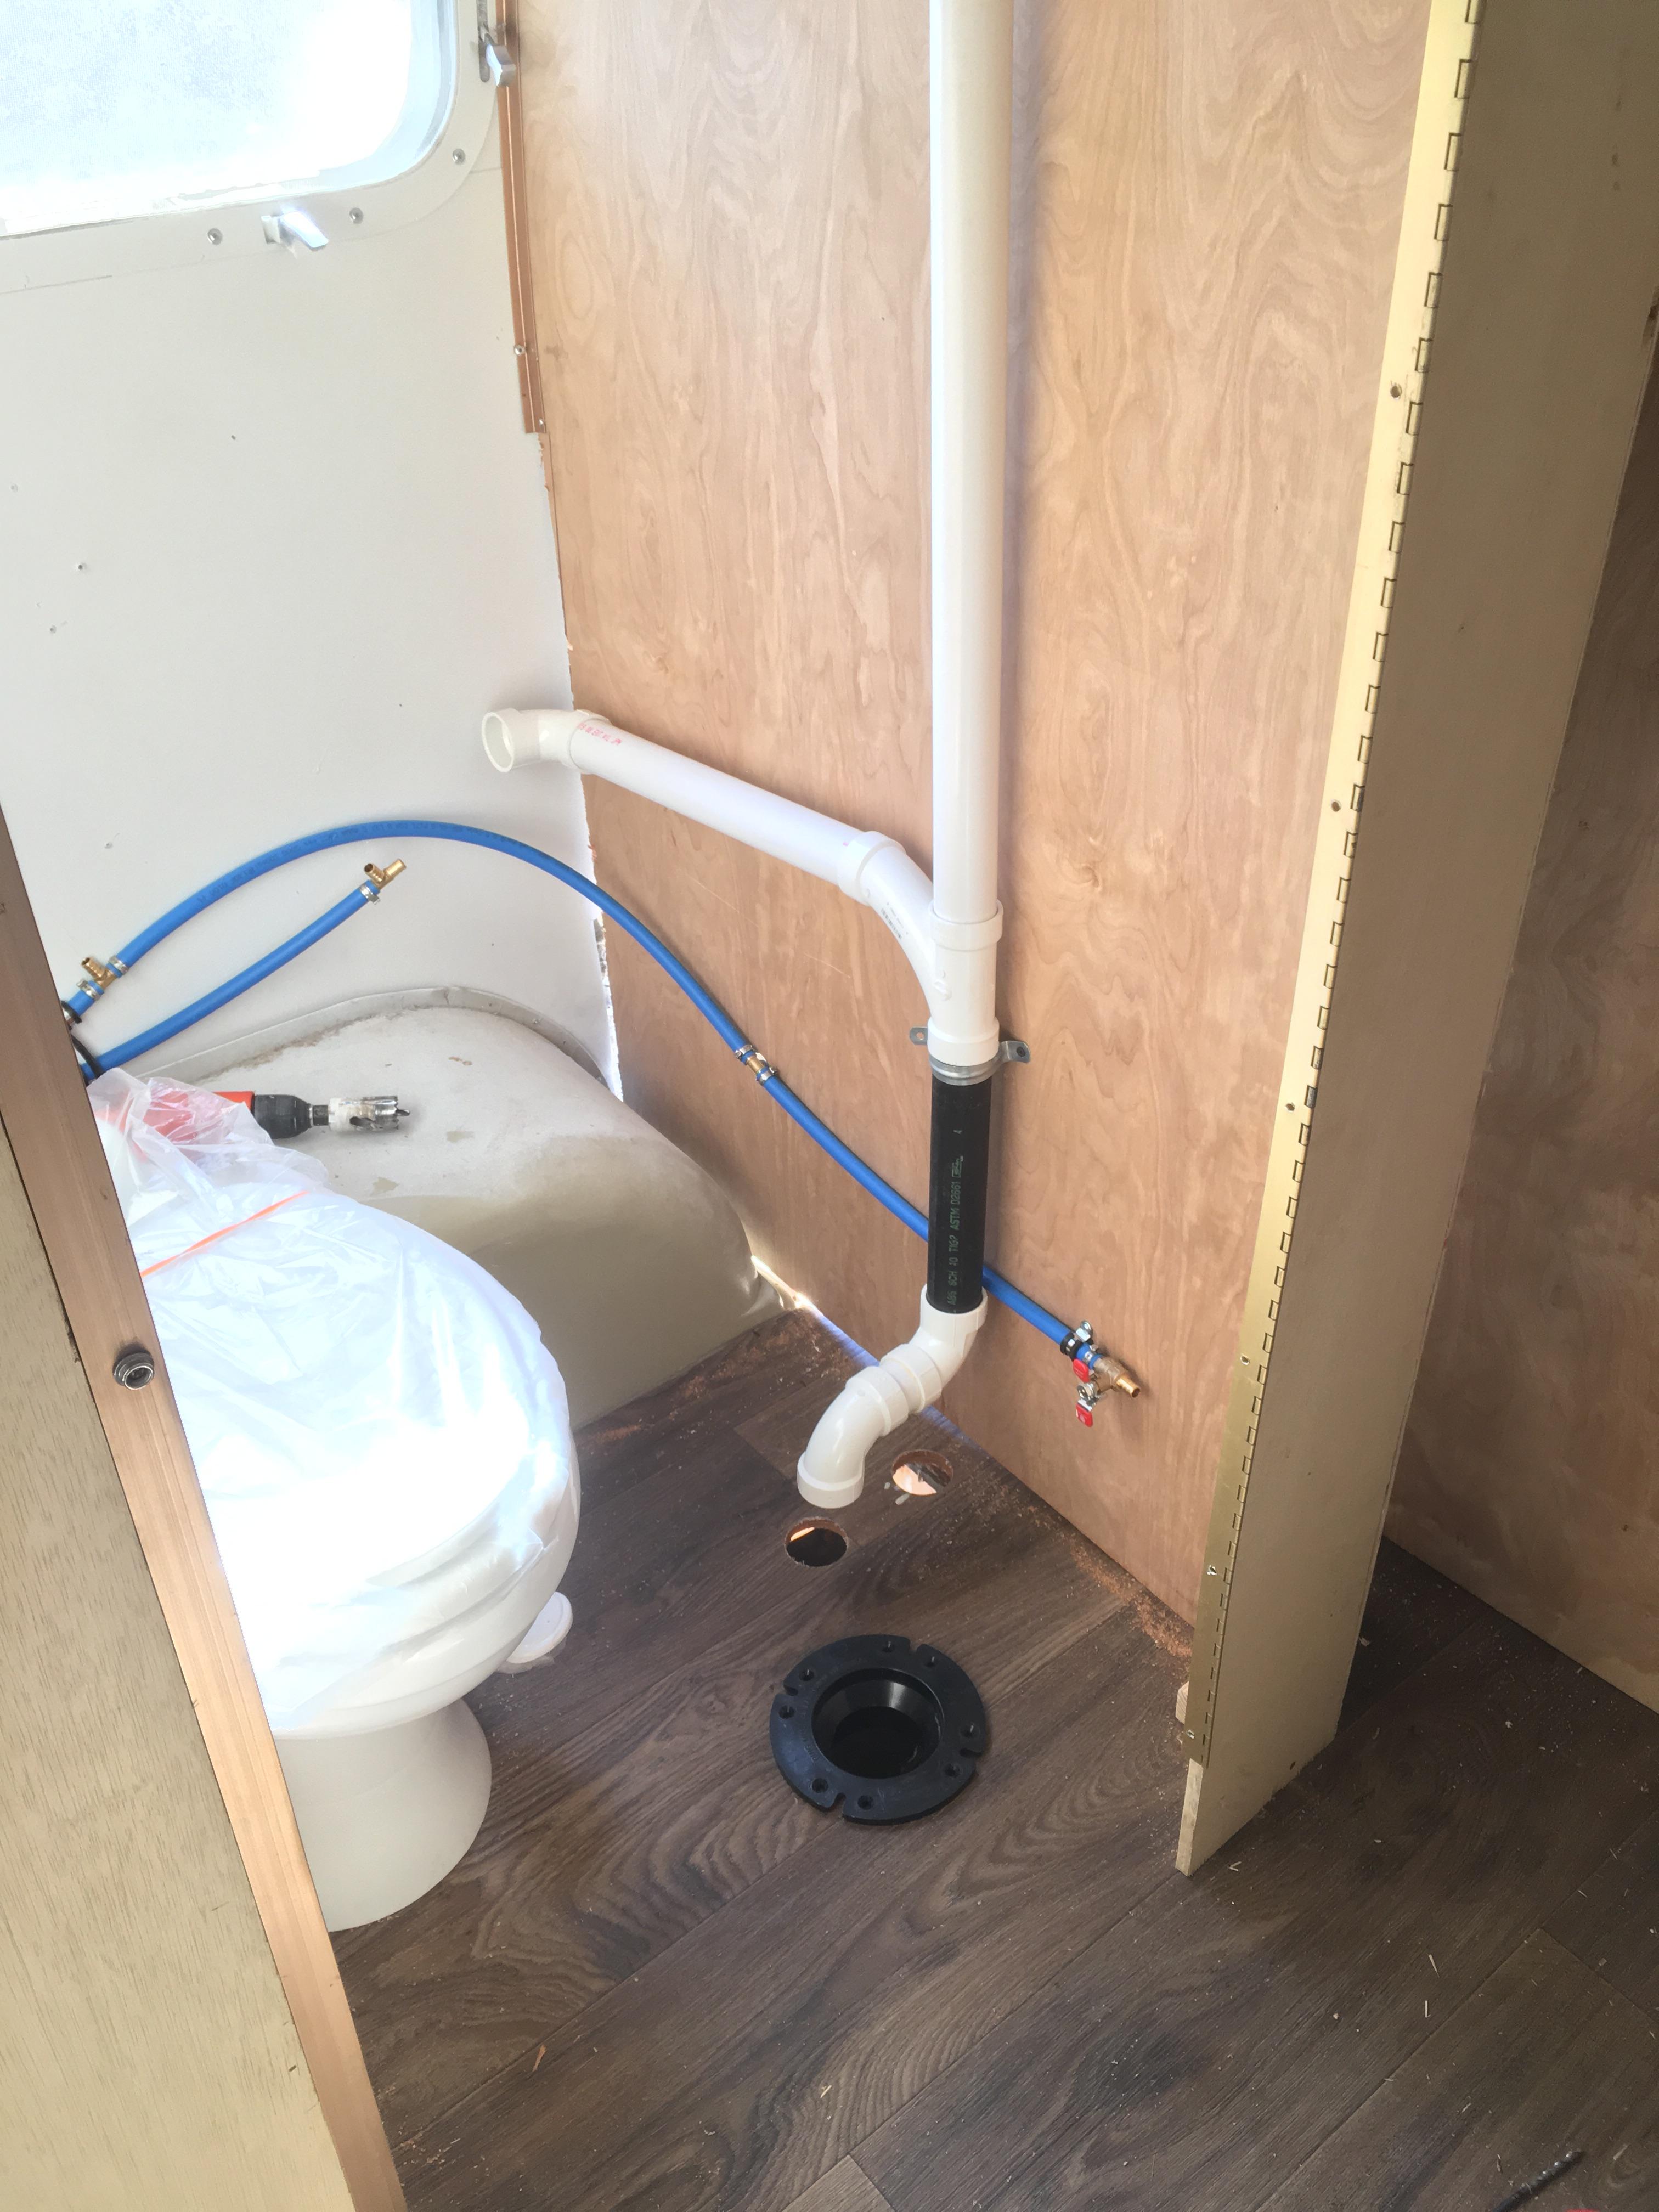
The toilet area was tricky. Making sure there is enough room for a sink AND a toilet was not that easy. The toilet sits directly on the new 30 gallon black tank that is just on the other side of the rear axle. I should mention that the new tanks needed to have all new dump valves and pipes installed underneath as well.
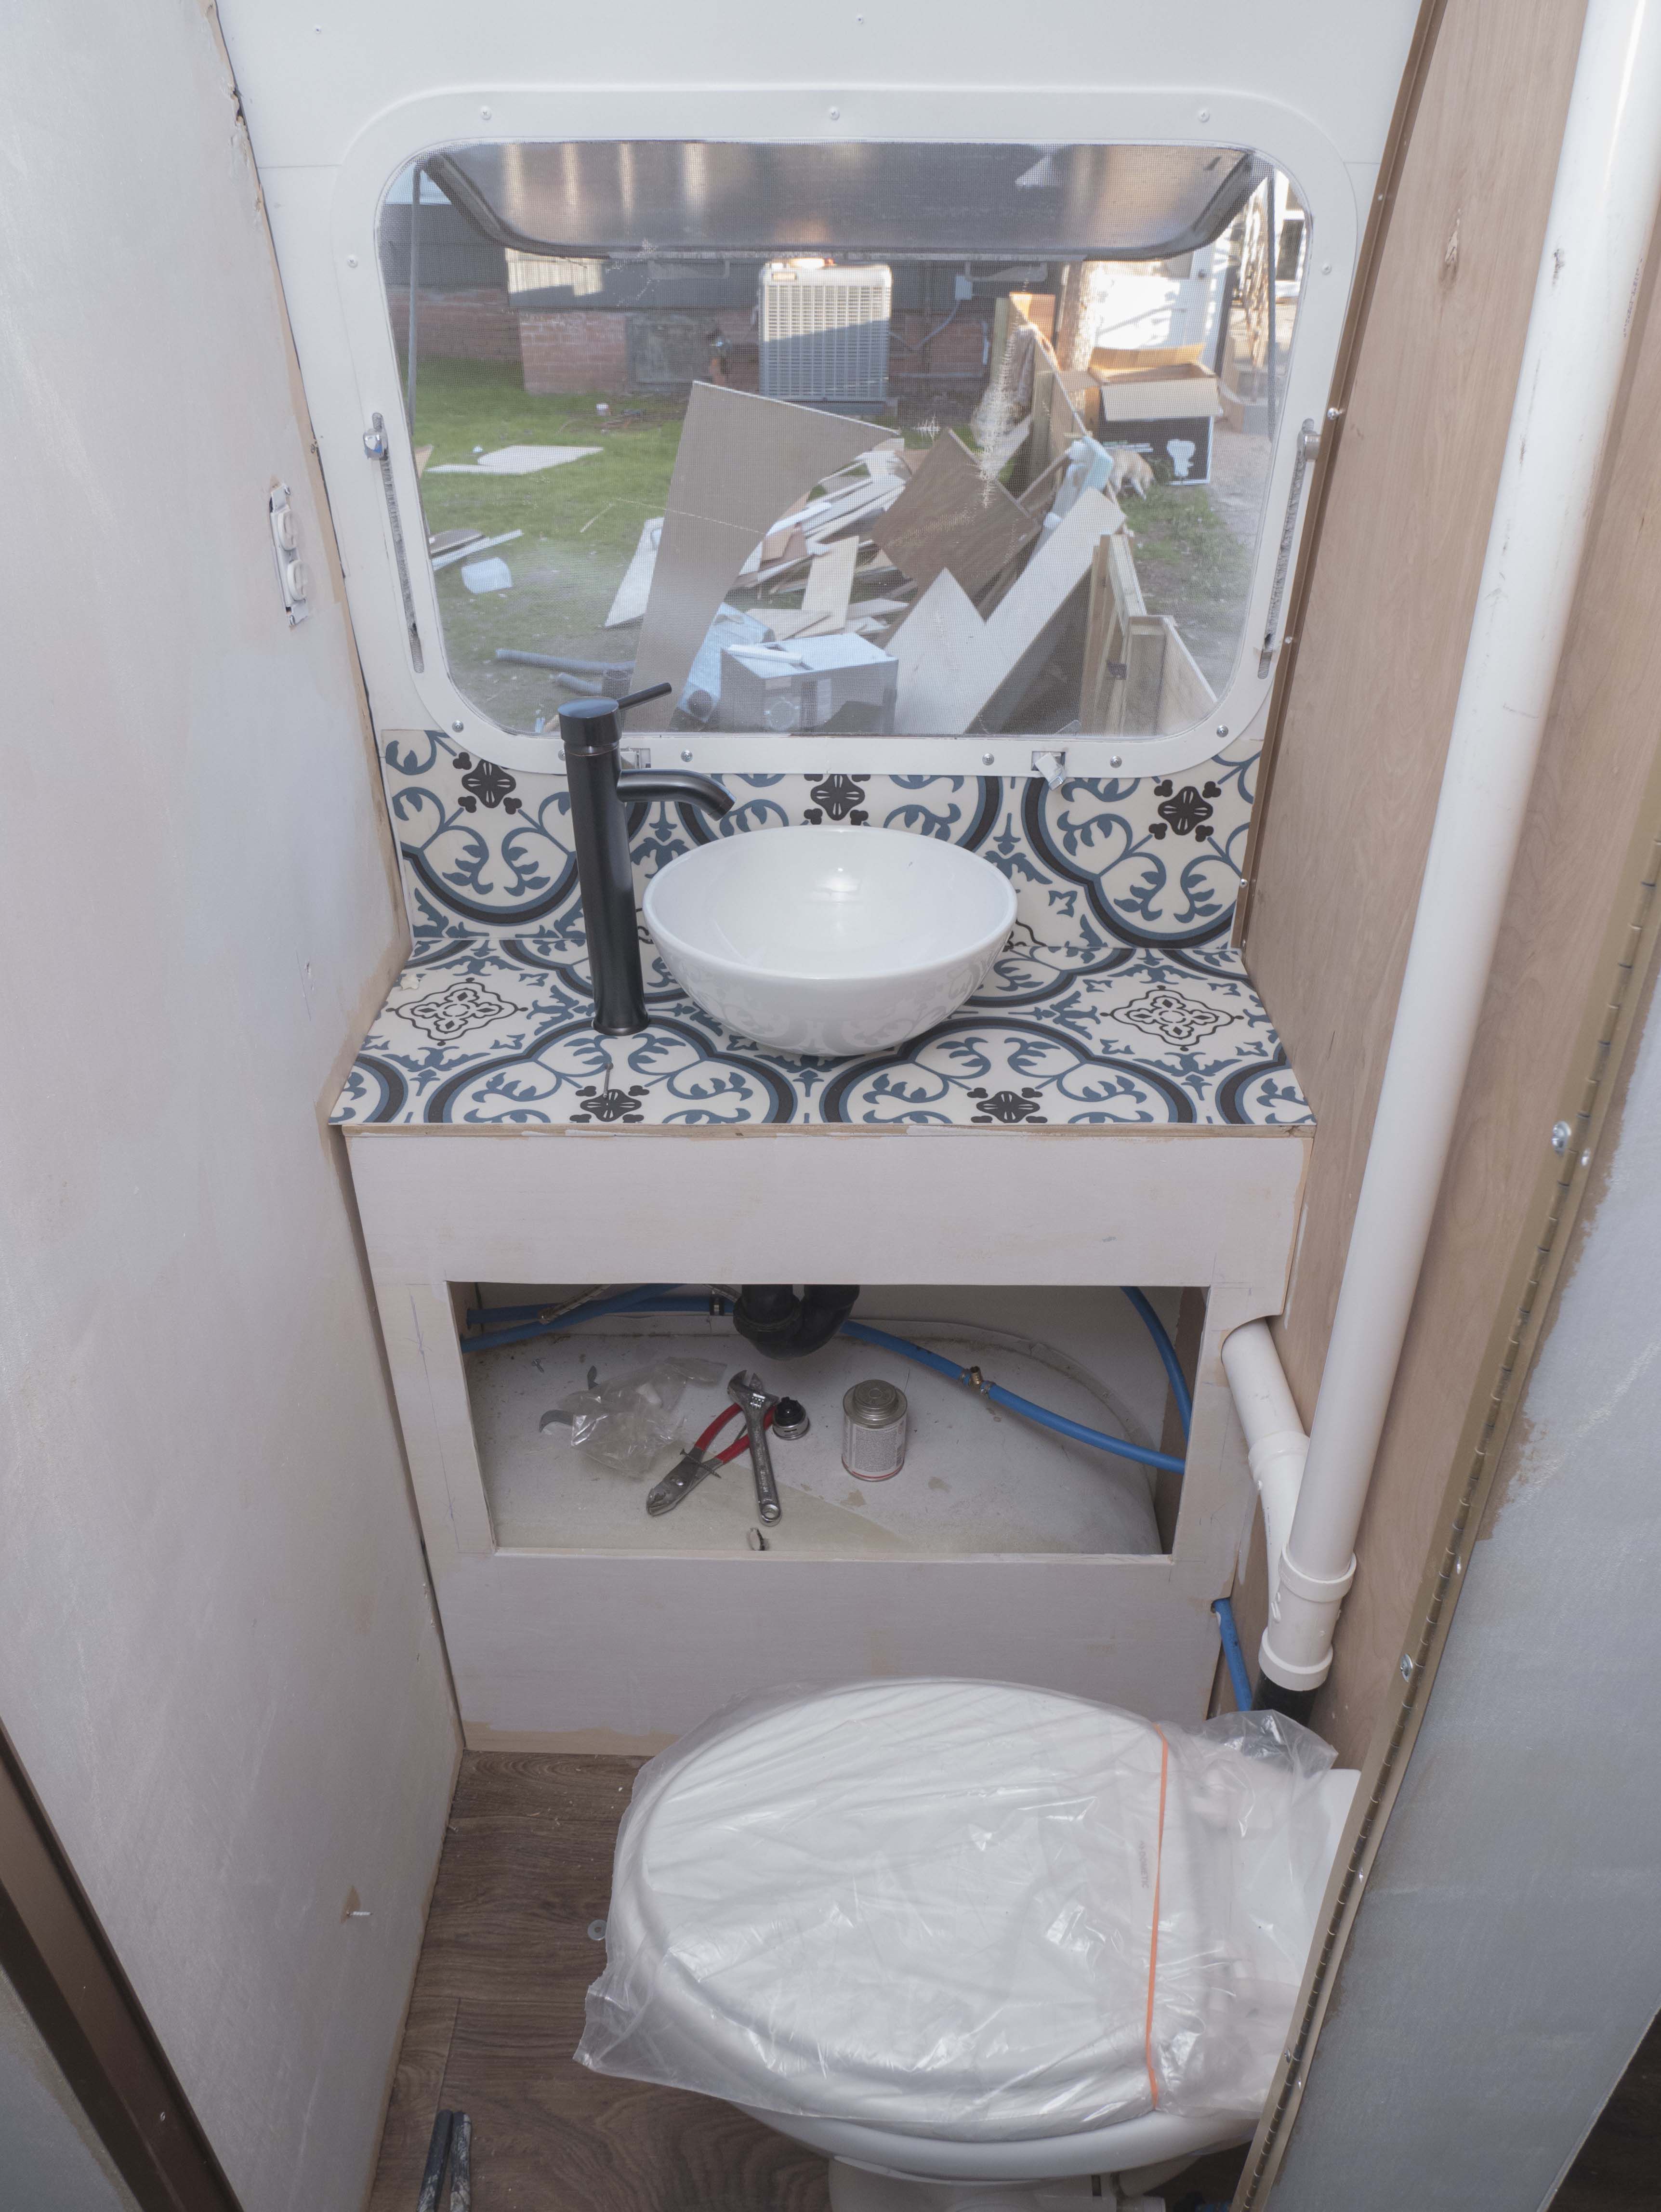
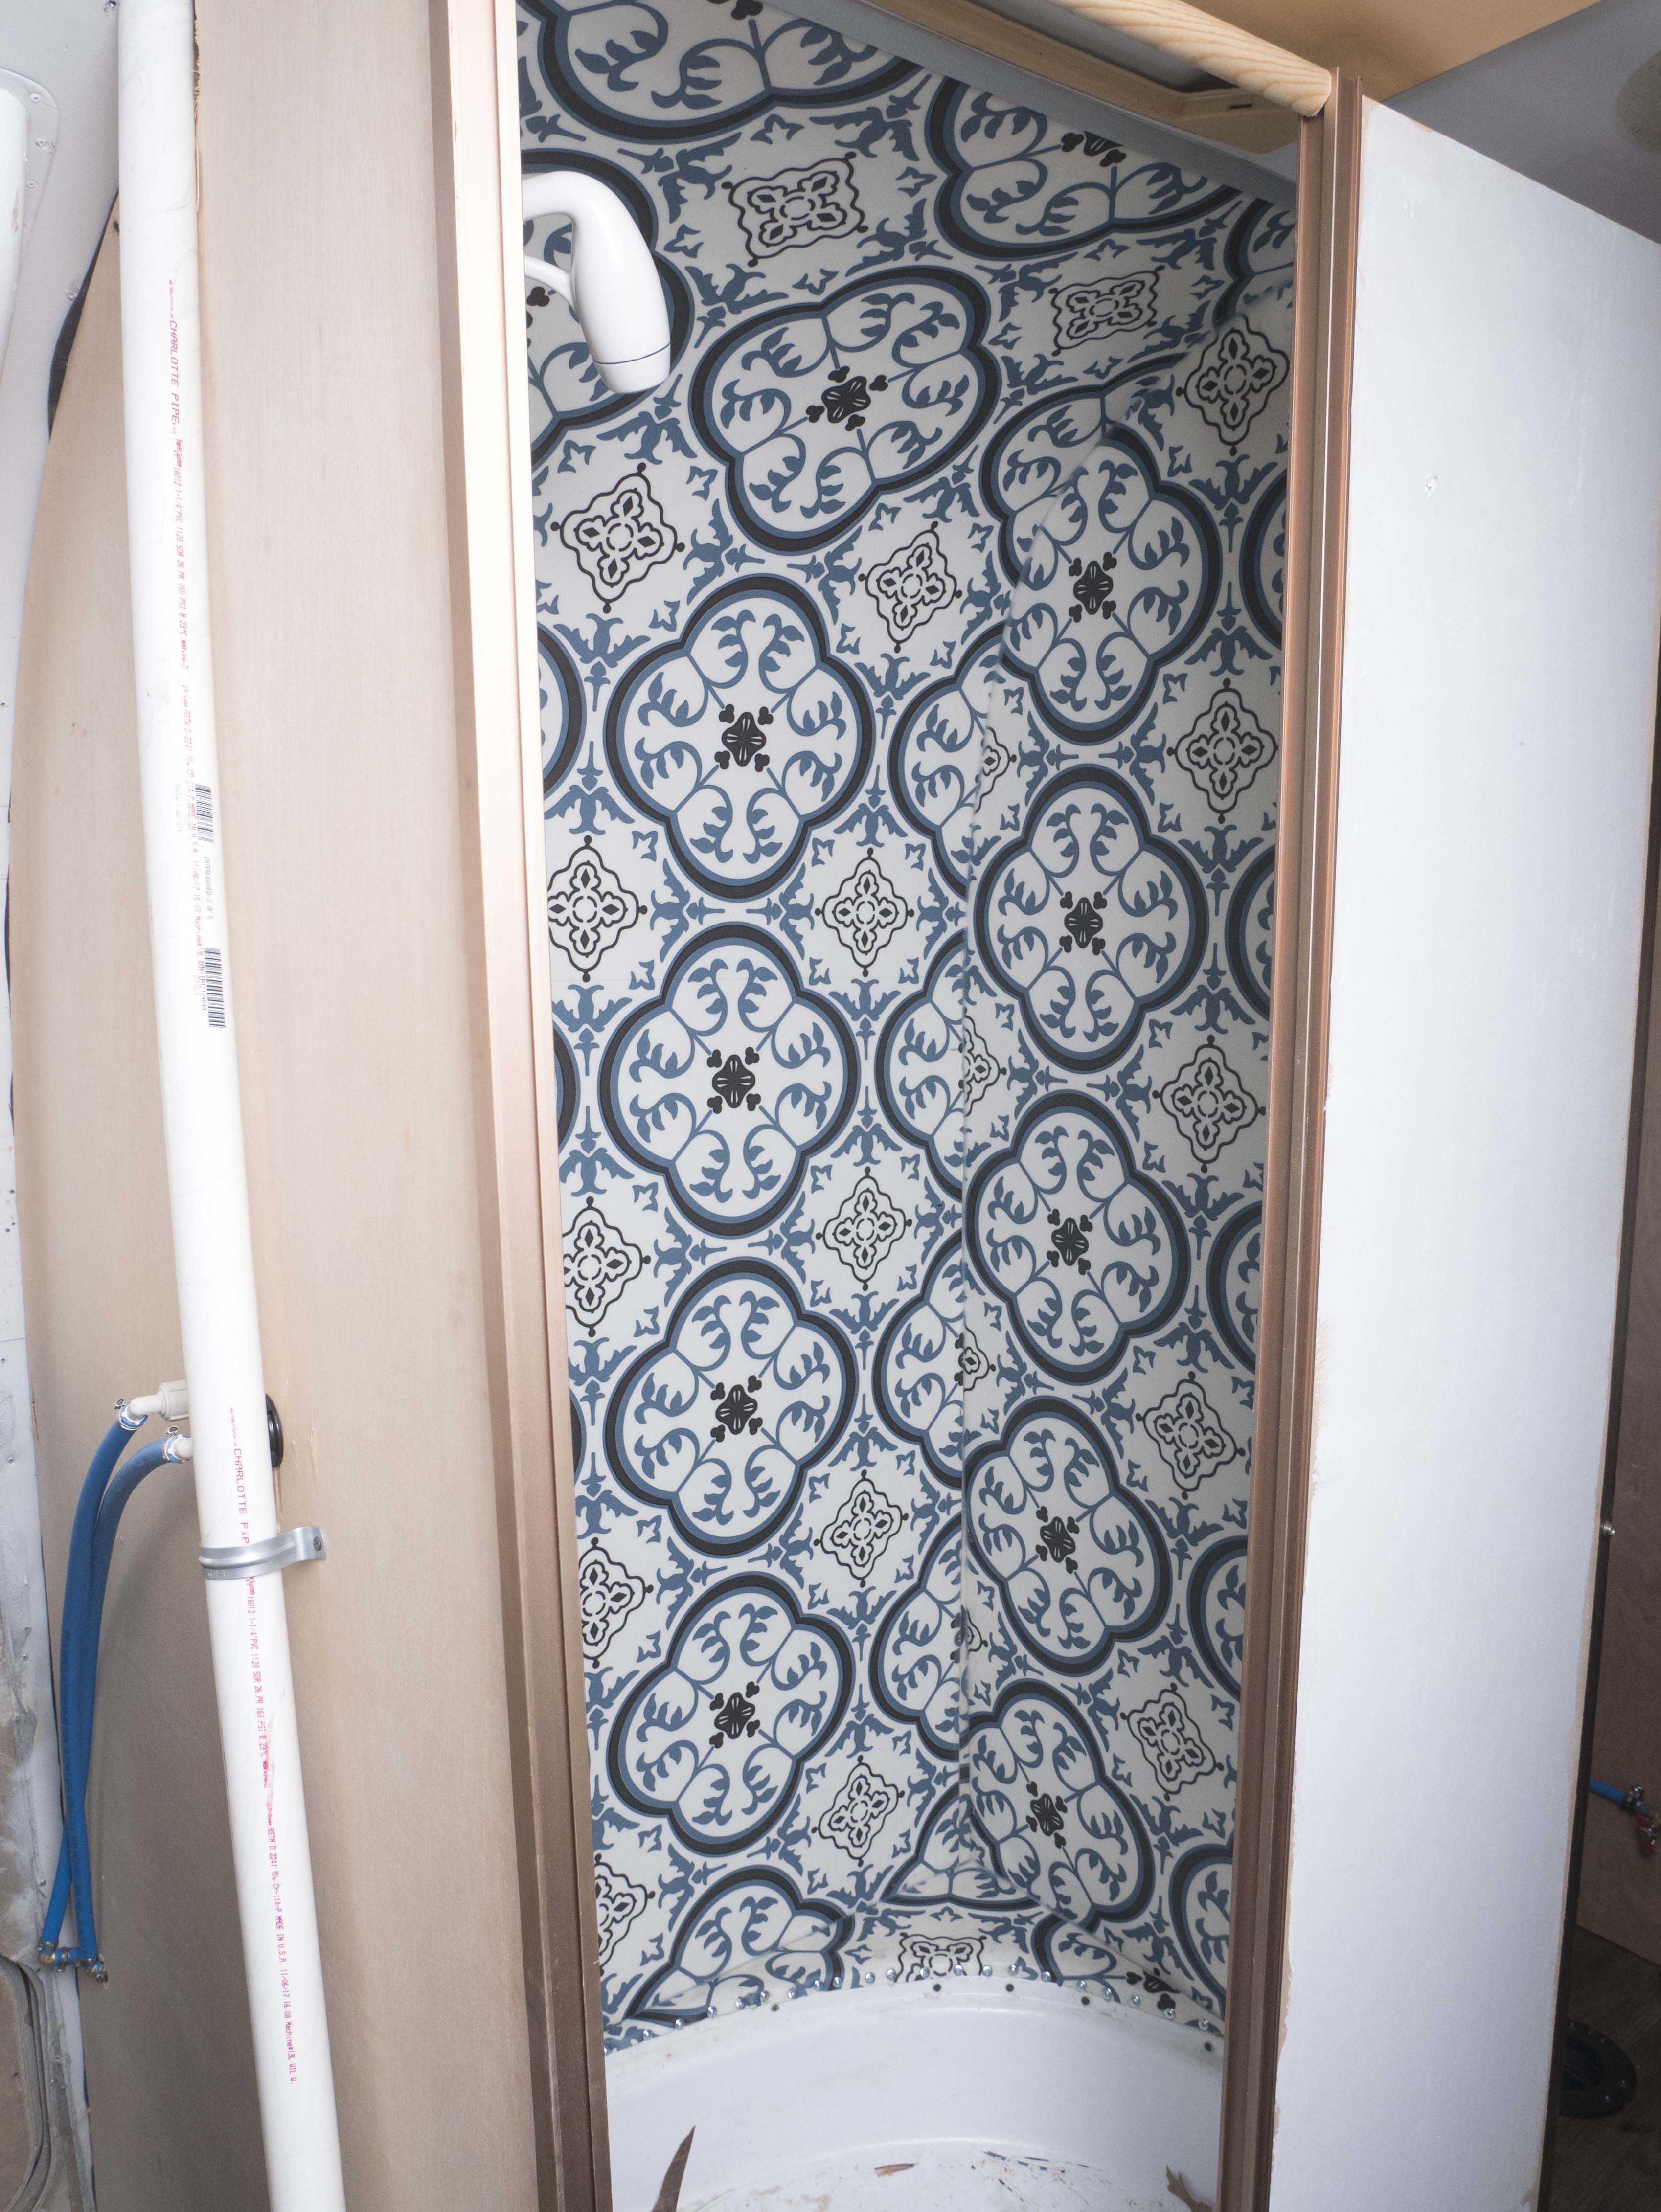
Now, I have the walls built and the plumbing ready. But, I needed to make the shower walls waterproof…. I decided to use some vinyl sheet flooring that looks like tile. It is seamed together at the walls with clear caulk. I’ll have to keep an eye on it to make sure there is no water penetration leading down to the subfloor. For now, I’m confident it will hold. I will probably have to recaulk it down the road. I’m OK with that.
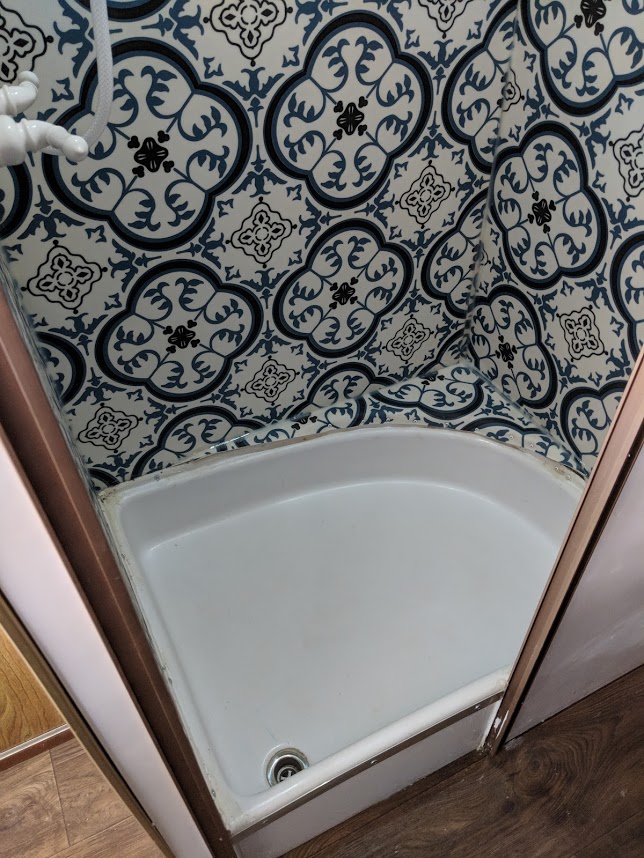
After all the work, I gave the shower and bathroom, and the tanks a good test. I filled them with water and they seem to be holding, with no leaks. Now, driving down the road may loosen things up a bit. Only time will tell if all my work will last the 40 or so years I plan to keep her.

