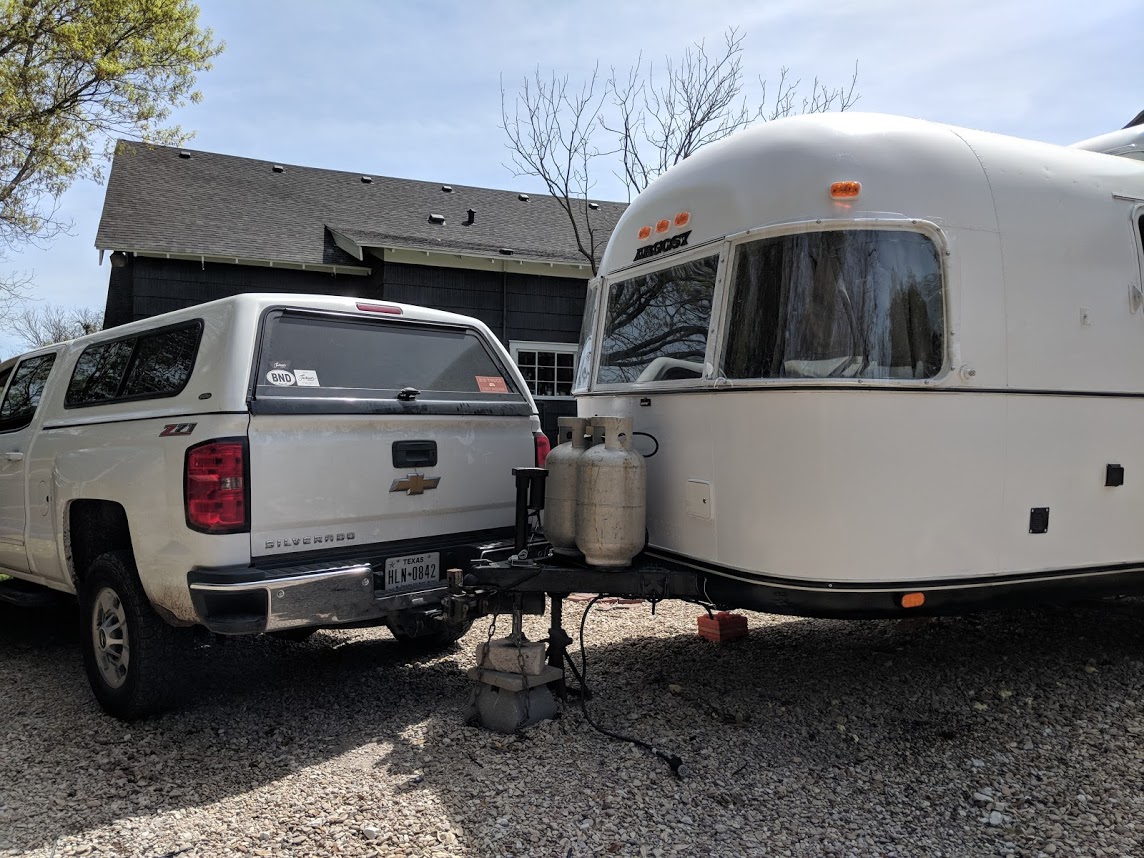
 Airstream Panoramic Windows
When you buy a newer Airstream, I’m betting the gorgeous front panoramic windows in the front of the trailer is a major factor in your decision. The view from the inside looking out is one you won’t soon forget. You’ll pull your Airstream up to the campground, face it out towards the world, grab a PopTart or beer and take in the view.

These windows are what set Airstream apart from a lot of other trailers. Some Airstreams even have these windows on the front and back! This is just one of many reasons I love Airstreams so much. But, those windows come at a price… If one breaks, the replacements are expensive. Not only that, it is a lot of work to drill the old frames out and replace the glass.
Building the Airstream Window Protectors
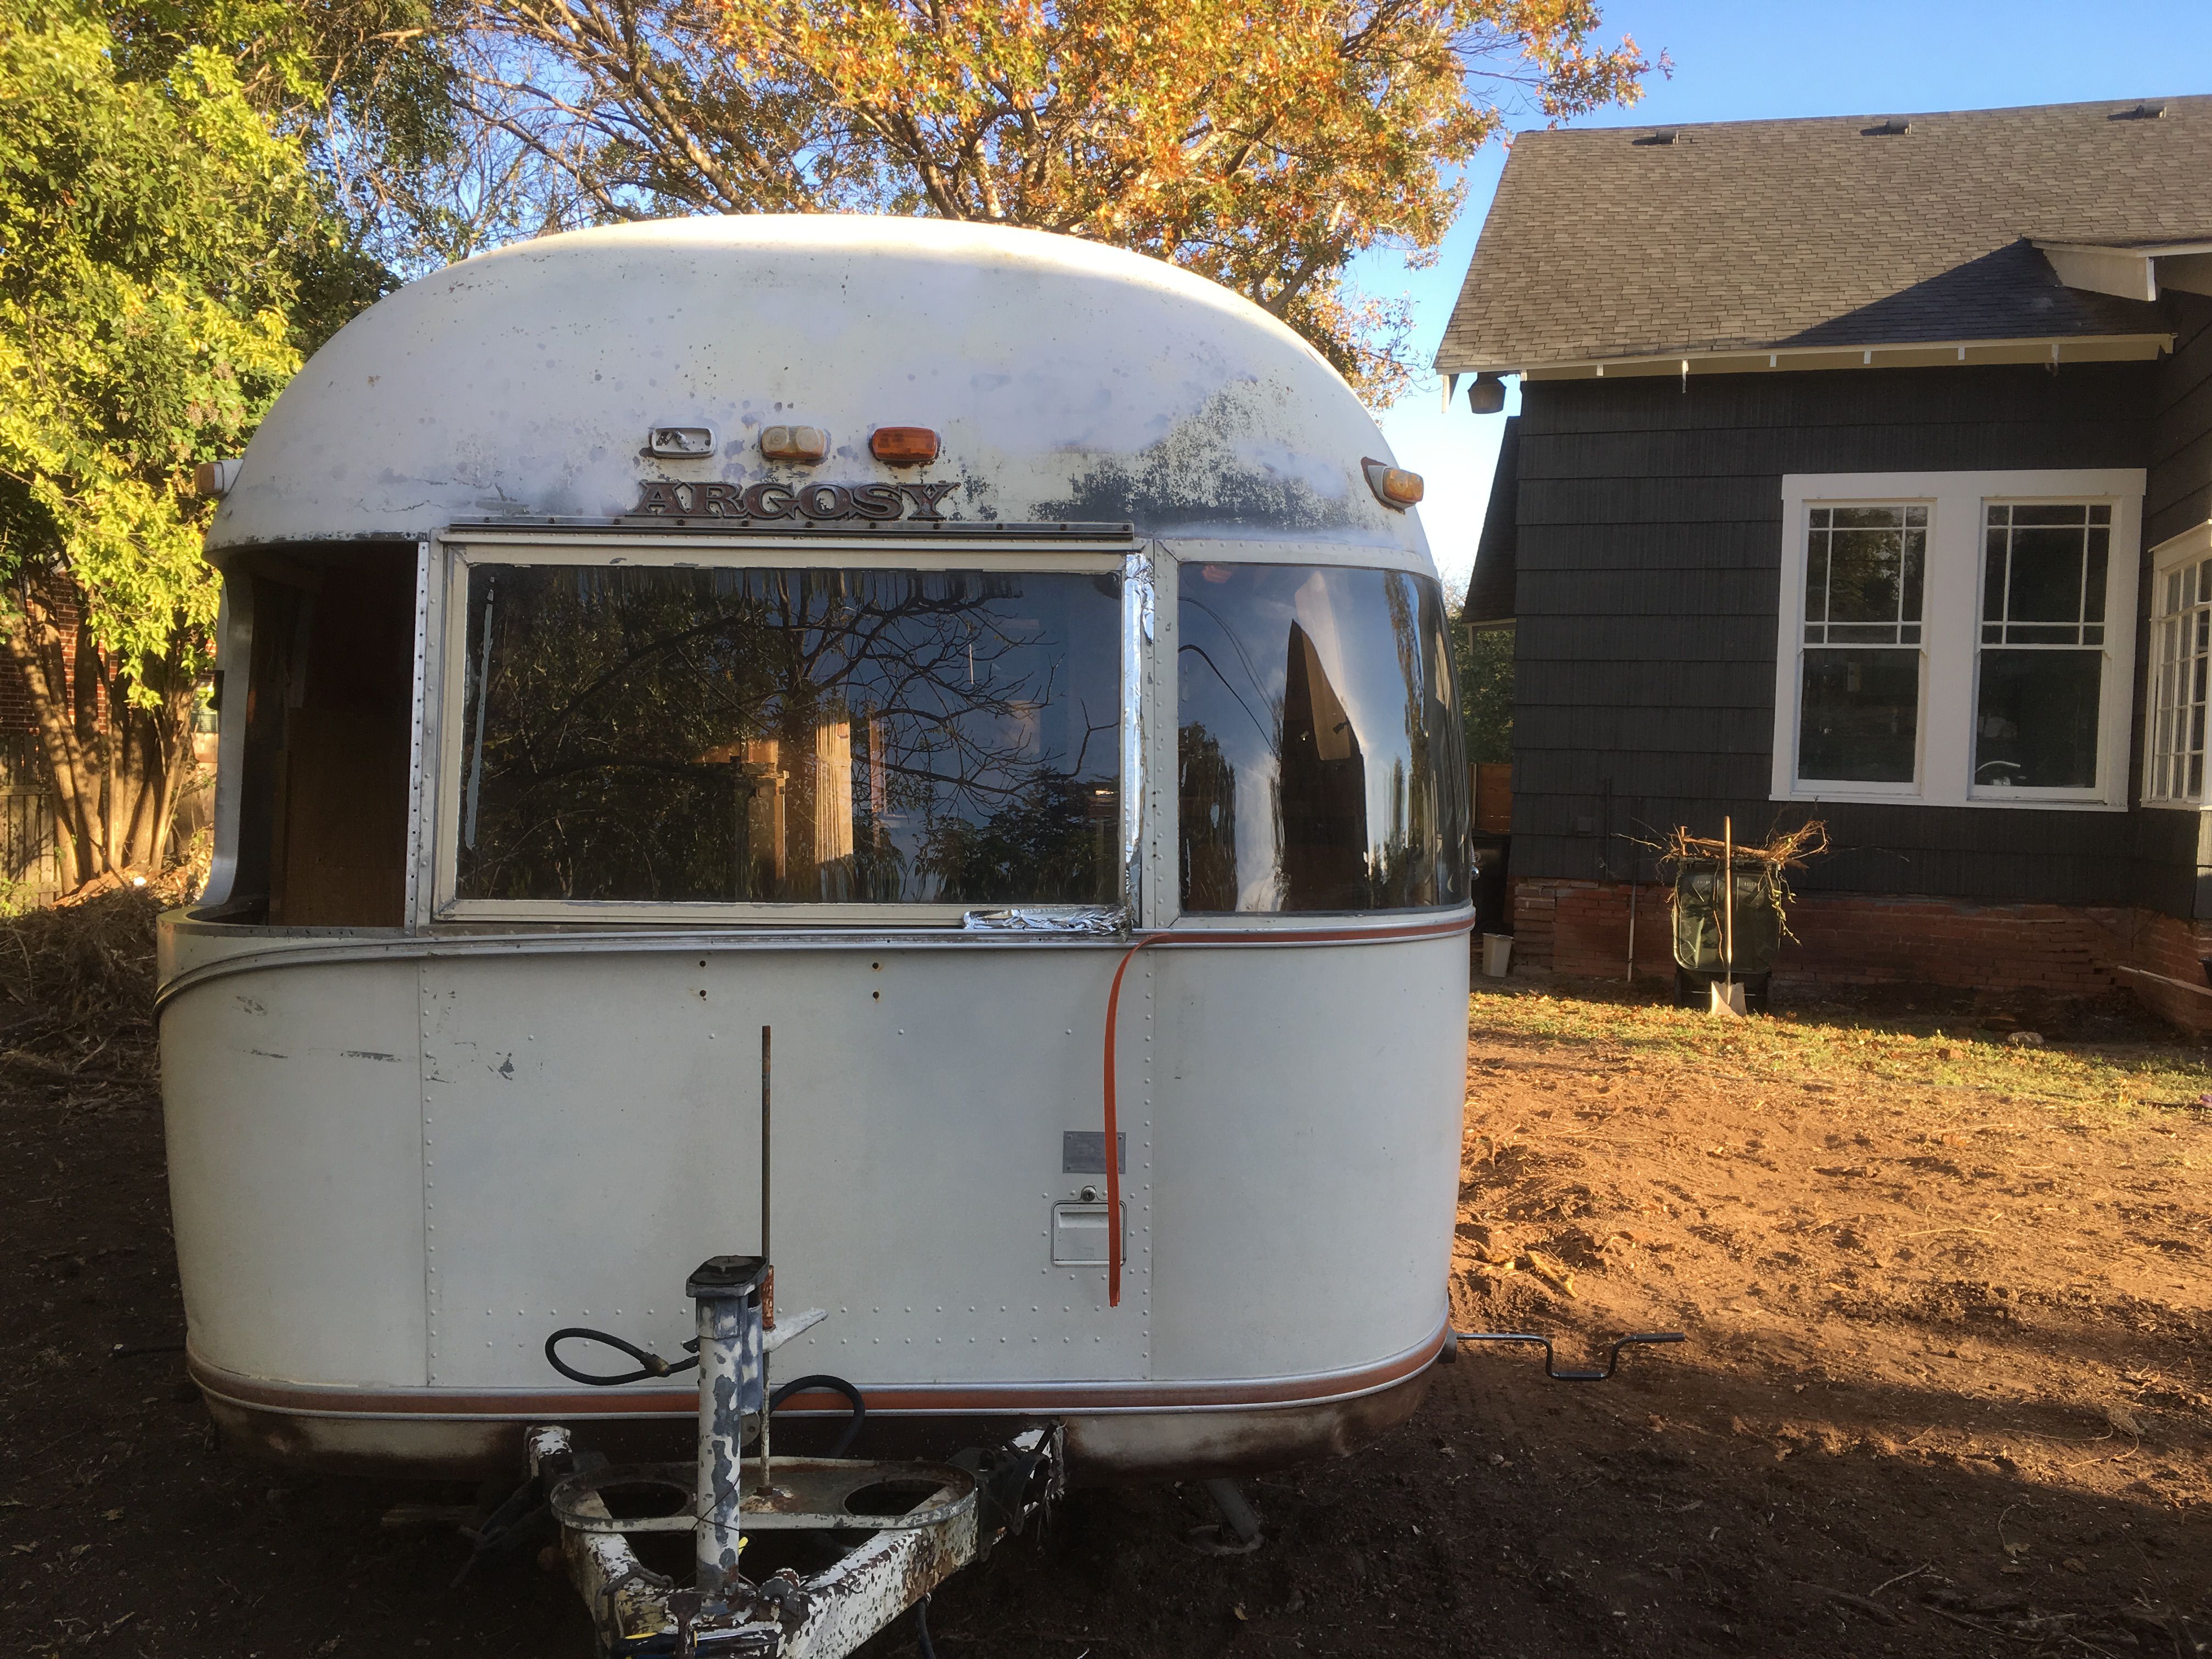
Did you know Airstream used to put these same panoramic windows on the Argosy trailers of the 70s? The big difference is that back then, they didn’t come with the protectors you see on today’s Airstreams. At least as far as I can tell by the brochure. These “sunglasses,” as I like to call them, keep rocks and road noise from smacking into the glass and shattering it. Now, I’d love to purchase the sunglasses, but they cost a fortune. One day, I might swing for the official protectors but for now, I’ll make my own.
DIY Airstream Rock Guards
There are many ways you can protect your panoramic Airstream windows. There’s canvas material you can make and “snap” onto the trailer. You can even go the old duct taped cardboard route. We did when we first brought the trailer home. Many people end up making them out of Plexiglass or something similar. I chose the Plexiglass method.
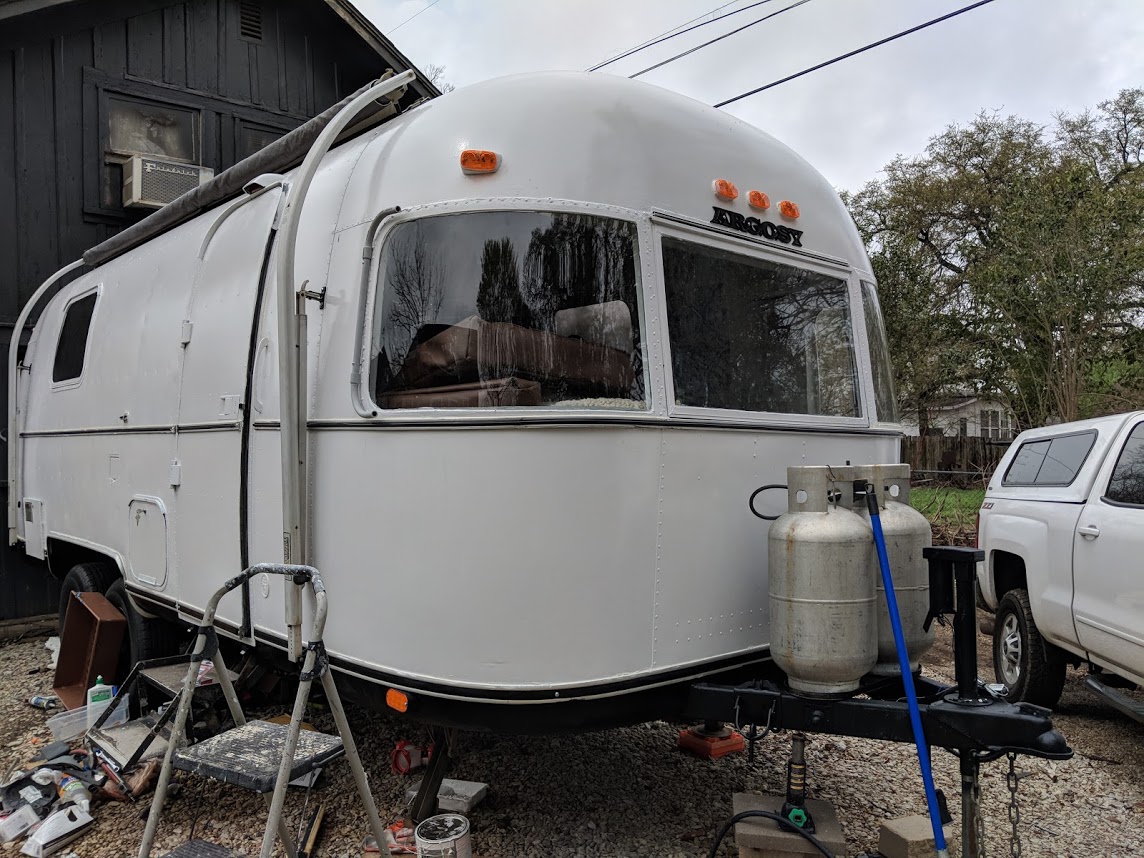
First, I had to figure out a way to mount the Plexiglass to the trailer. I thought I might use some sort of metal or just screw it in directly. I even thought about making the frame out of aluminum channel. There’s a lot to consider when building something as unique as this curved window protector.
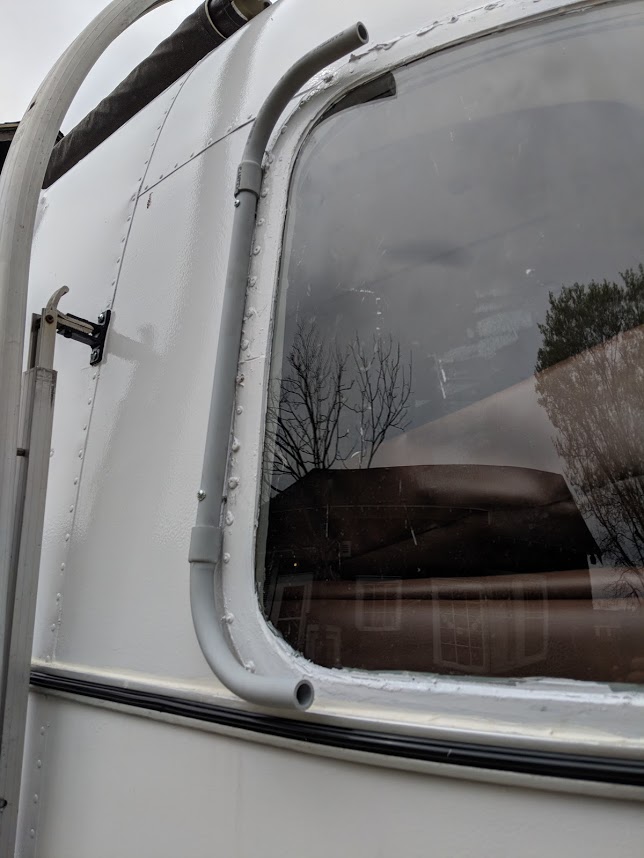
I chose to use some plastic conduit I found on the electrical aisle of my local hardware store. I even found some rounded elbows that would work for the curved section. Cutting and bending the plastic tubing was easy. I then screwed the tubing into the trailer. If you ever drill holes in your Airstream, I suggest you dab some polyurethane caulk in there with the screw. A few drops of water through a screw hole over a long period of time will certainly rot your floor. Water has a way of finding its way into Airstreams and goes right down to the floor.
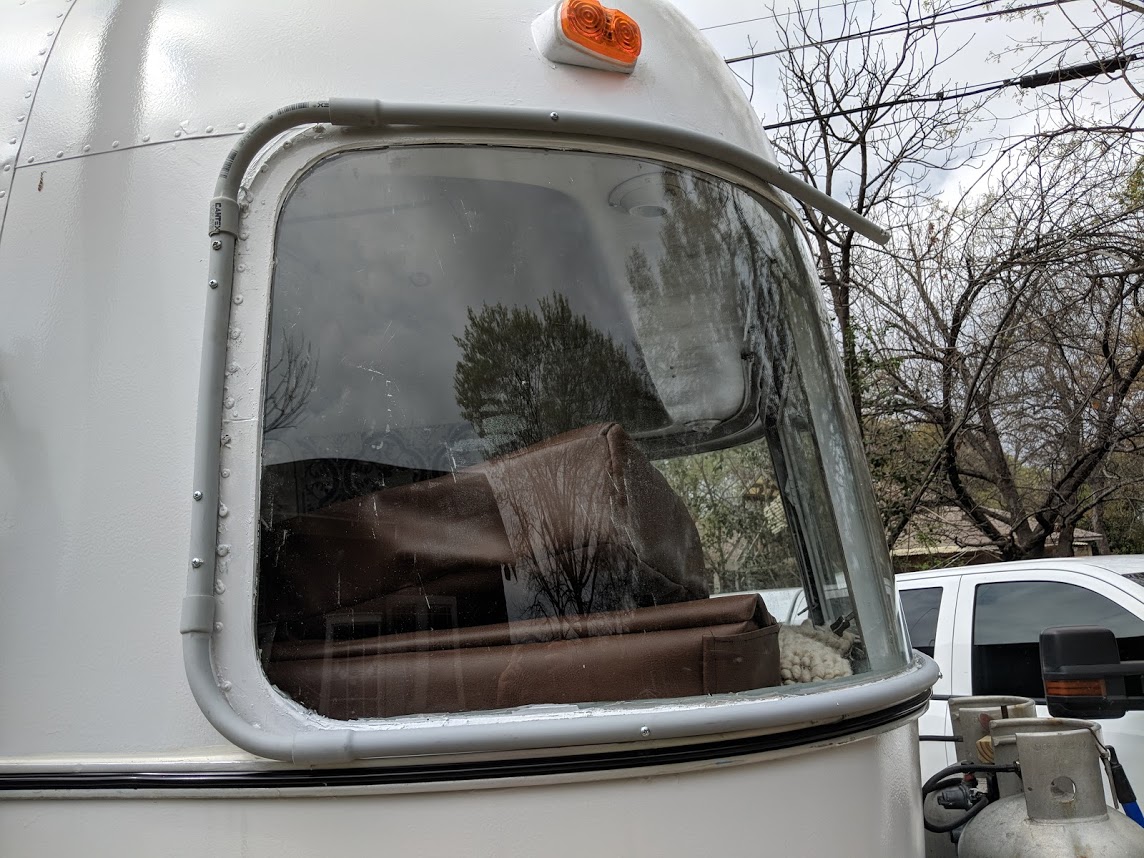
Next, I cut the Plexiglass. This part isn’t easy! This stuff cracks easily so you have to be very careful when sawing or scoring the sheets. I used the real thin stuff because I didn’t want to spend a lot if it wasn’t going to look good once installed.
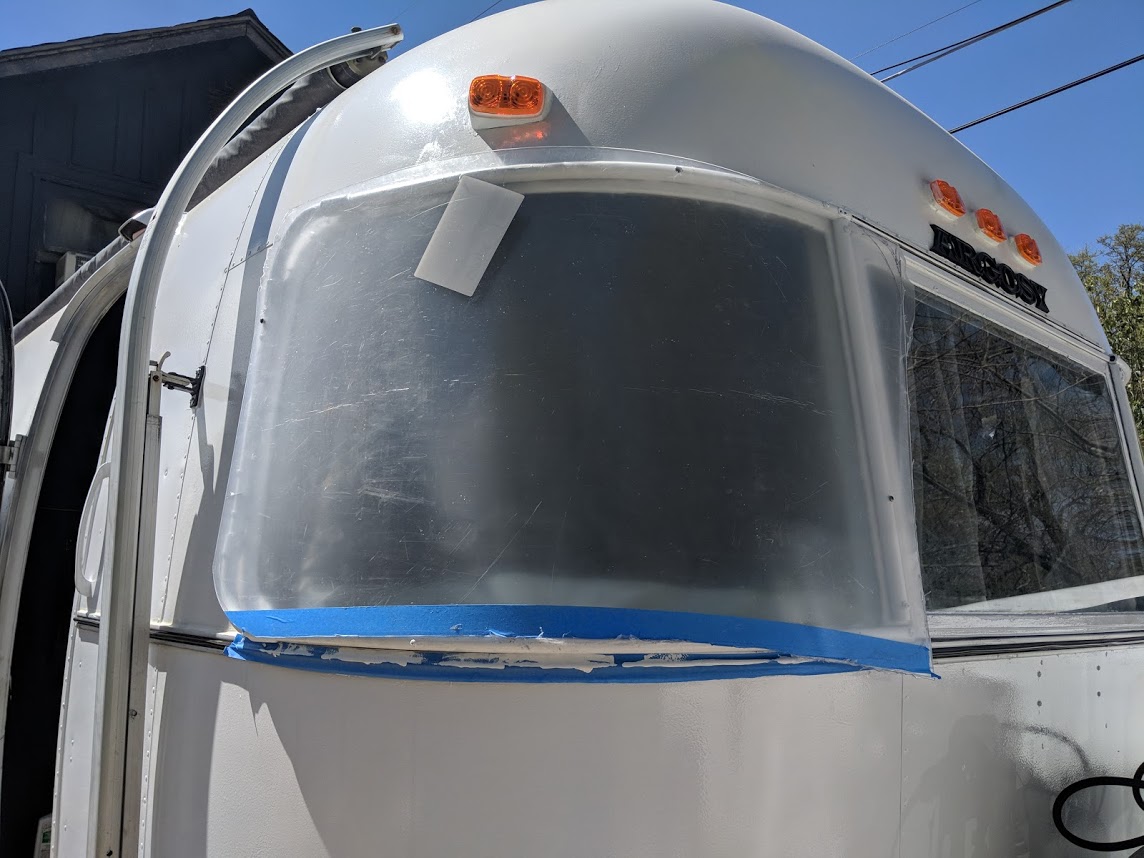
Remember to think about the horizontal curve and the upward inward curve of the Airstream window and body. I made a few mistakes on the first piece of Plexiglass, which was an expensive mistake. On the second part, I knew exactly how to cut it and make it fit. Even then, I still cracked it in a few places. When cutting Plexiglass, it is best to tape the edge you plan to cut to keep it from cracking. It is a lot harder than it seems. I used a jig saw blade that is made for Plexiglass when cutting the curved part of the protector.
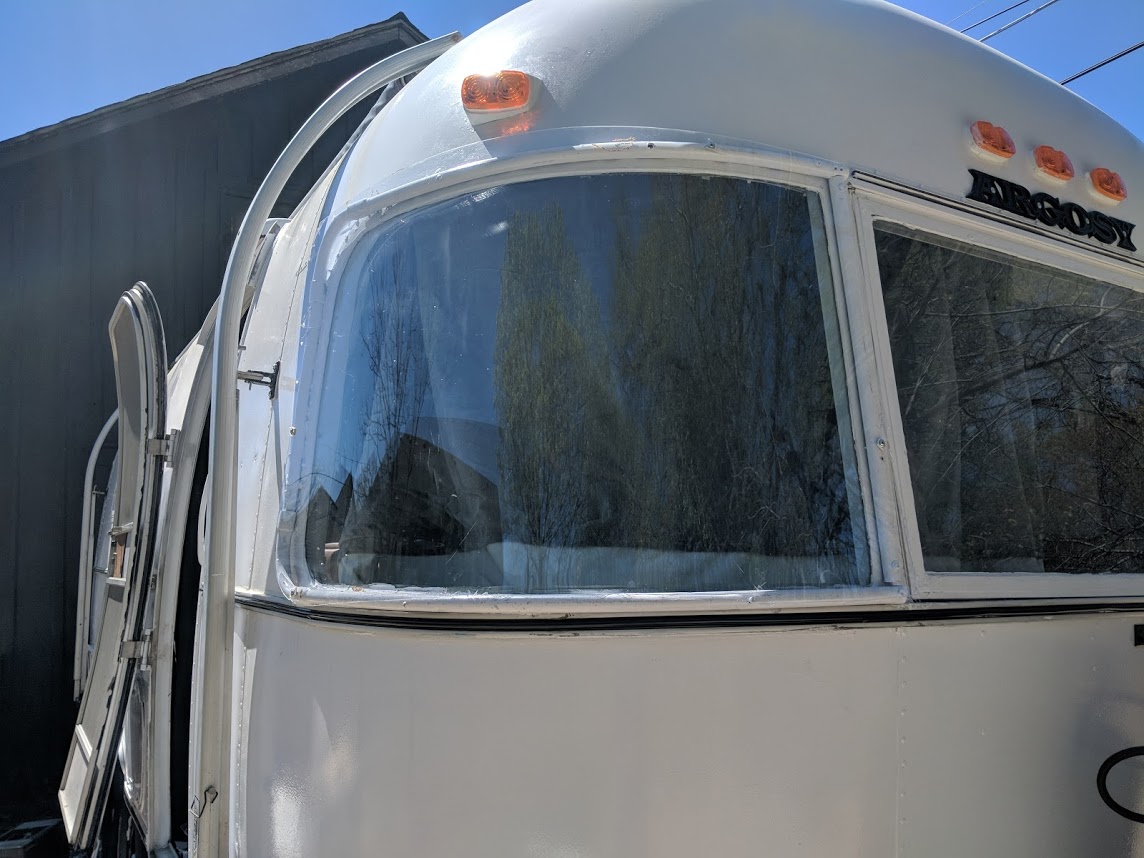
I used rubber washers when screwing the “glass” into my conduit framework. I didn’t build a protector for the middle glass windows. I’m hoping the middle is less susceptible to breakage. And, if it does, it isn’t as devastating as the fishbowl piece. We’ll see how well the protectors hold up on the curved ones when flying down the highway.
