Building Airstream cabinets for your vintage trailer restoration can be a bit daunting. Woodworking is a skill that people learn over many years. I don’t particularly have great skill when it comes to woodworking. My method usually consists of measuring, cutting, then immediately throwing that piece of wood away, re-measuring and cutting again! Sometimes, I like to repeat this process 3 or 4 times. Woodworking is tough stuff!
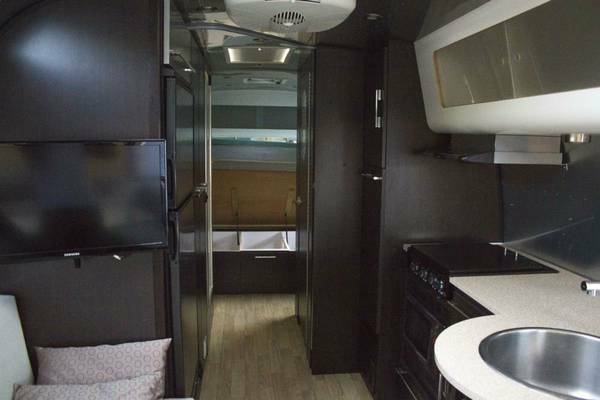
2012 International Cabinets
Cabinets in new Airstreams
In newer Airstreams, you’ll often find something that is considered lightweight MDF. From my experience owning a newer Airstream, it seemed that the cabinets were similar to IKEA in build and were laminated like IKEA cabinets as well. I’m not saying this is a bad thing, just an observation. Heck, I like a lot of stuff from Ikea myself. I’ve even modified their cabinets to fit in a vintage Airstream.
Cabinets in old Airstream
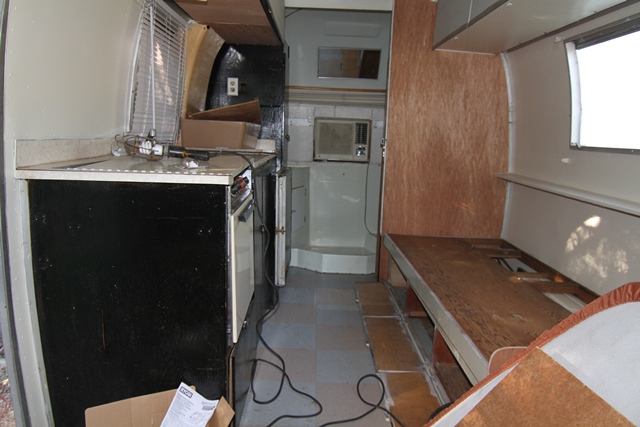
Unrestored 1966 Airstream Globetrotter Interior
The cabinetry in older Airstreams was a bit more lightweight than today’s trailers. They were made with very thin plywood and typically fit into small aluminum channels and were nailed together. When you start a vintage trailer project, I suggest you be very careful when removing these parts because you may want to reuse them or at least use them for templates. You might even keep them and sell them to another person to use in their project if you’re changing everything.
Building the cabinets in a vintage Airstream
In this project, the layout was completely changing. Which meant I was starting with a clean slate and wouldn’t be using any of the old wood or cabinets. Plus, the wood itself had become very smelly!
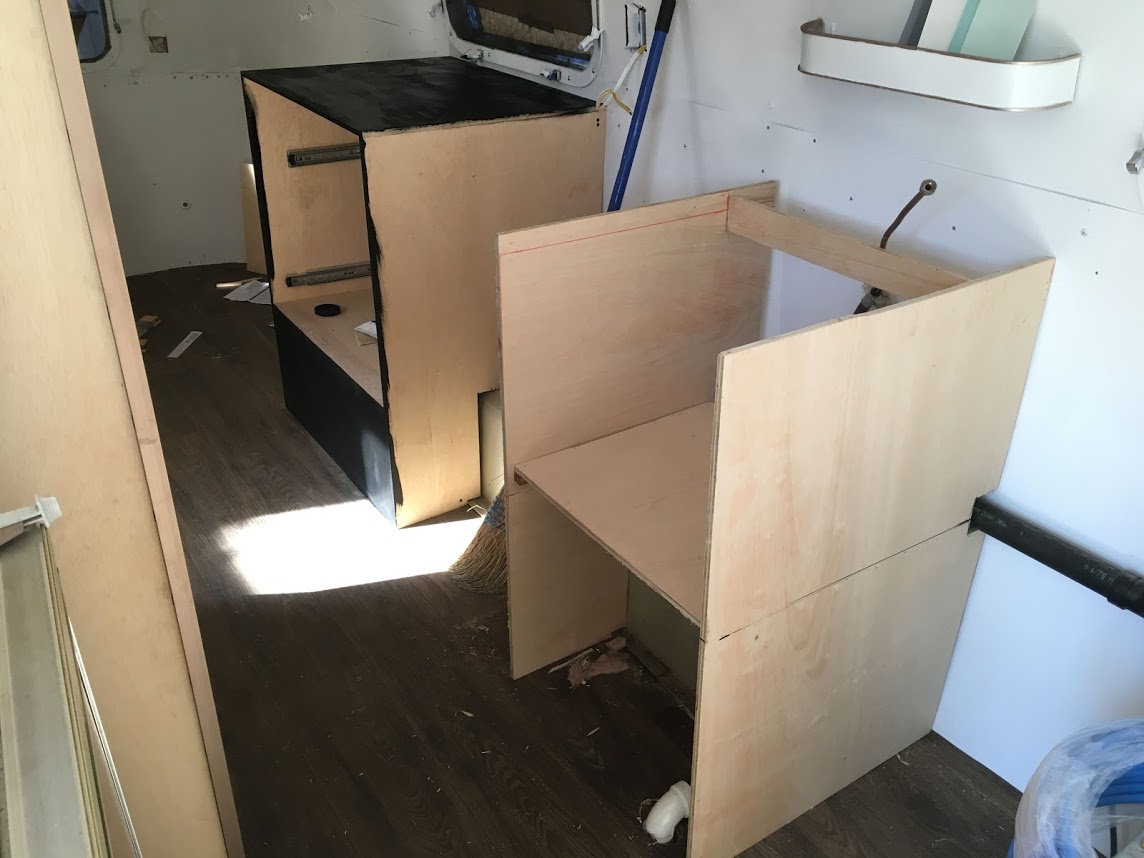
Dresser and oven cabinet in progress
Years of rot had taken its toll. Once the trailer was empty, I started building the cabinets. For this trailer, we knew we wanted a dresser of some kind, a wardrobe closet, a bathroom cabinet, the kitchen and finally, the front dinette area.
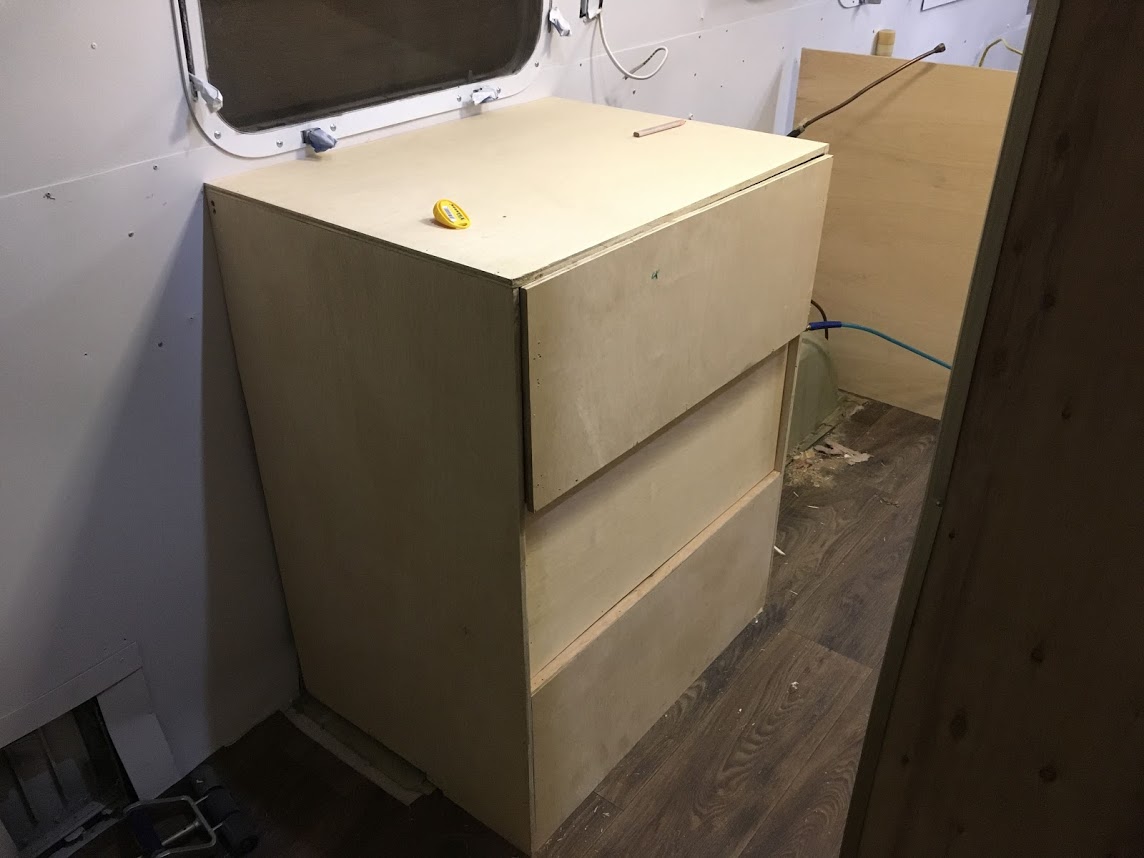
Dresser Mrs. TCP built
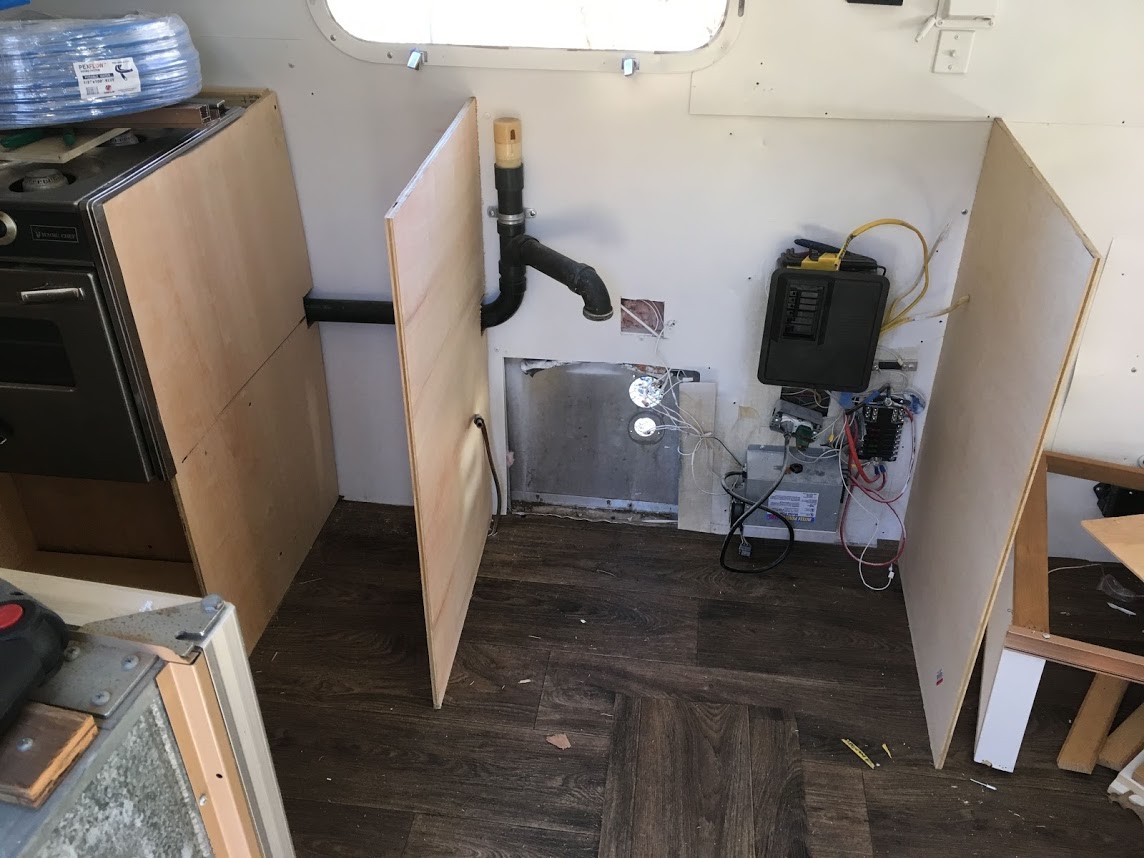
Kitchen Cabinet “Base”
Materials to build Airstream cabinets
I decided to make all of these with ½ inch sanded plywood. It isn’t the best wood for cabinets, but it is mostly lightweight and is easy to work with. Make sure you use new blades or you’ll tear up the edges.
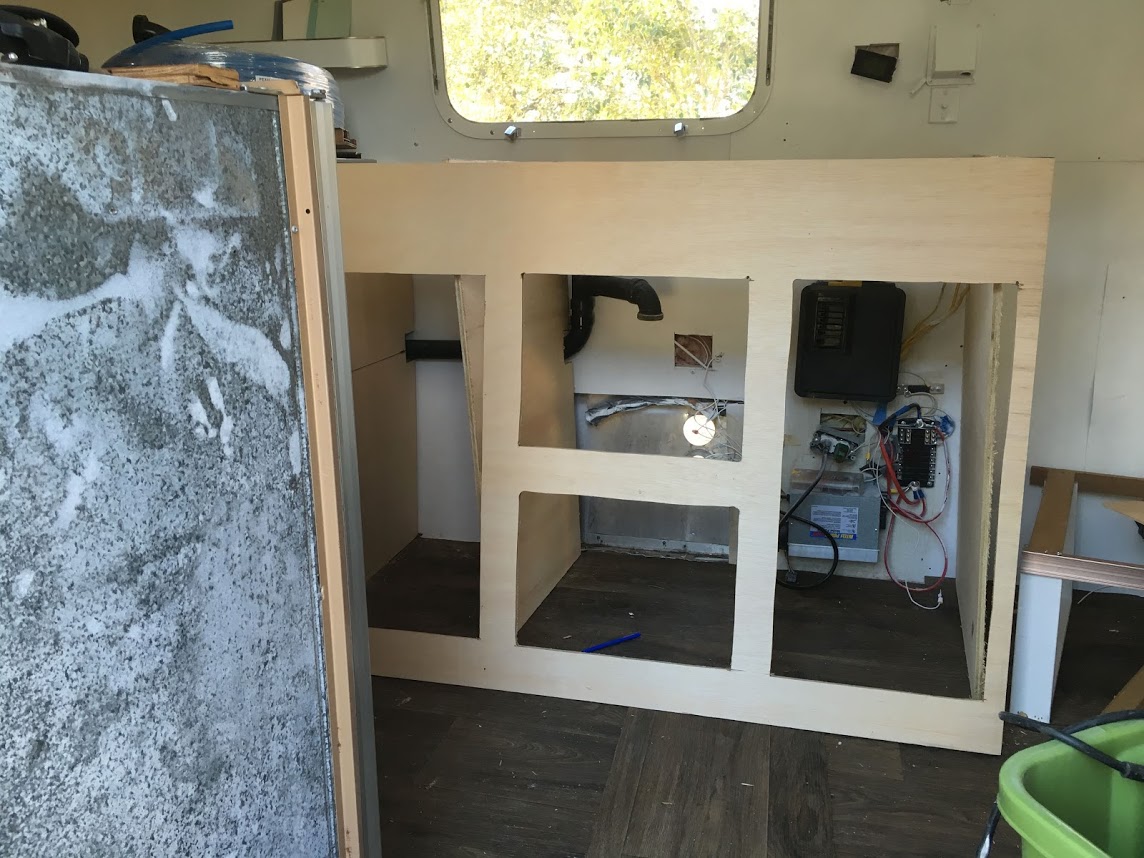
Kitchen Cabinet “Face”
For most of the cabinets, I used the ½ inch plywood for the “face” of the cabinets and ¼ inch plywood for the “walls.” This meant that the cabinets would have a front that could be easily removed in the event of a water leak, or to work on anything that is behind the cabinets. These include the furnace, the electric panel and more.
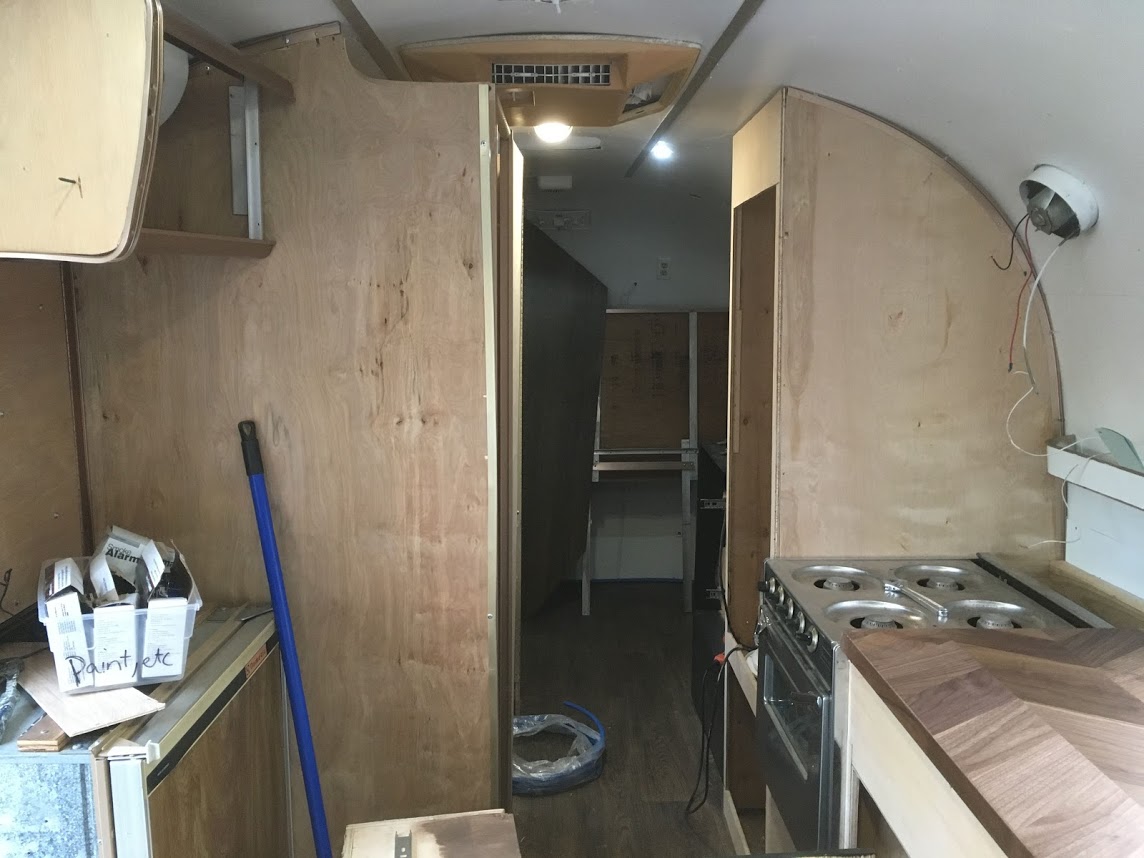
Unpainted Airstream Cabinets
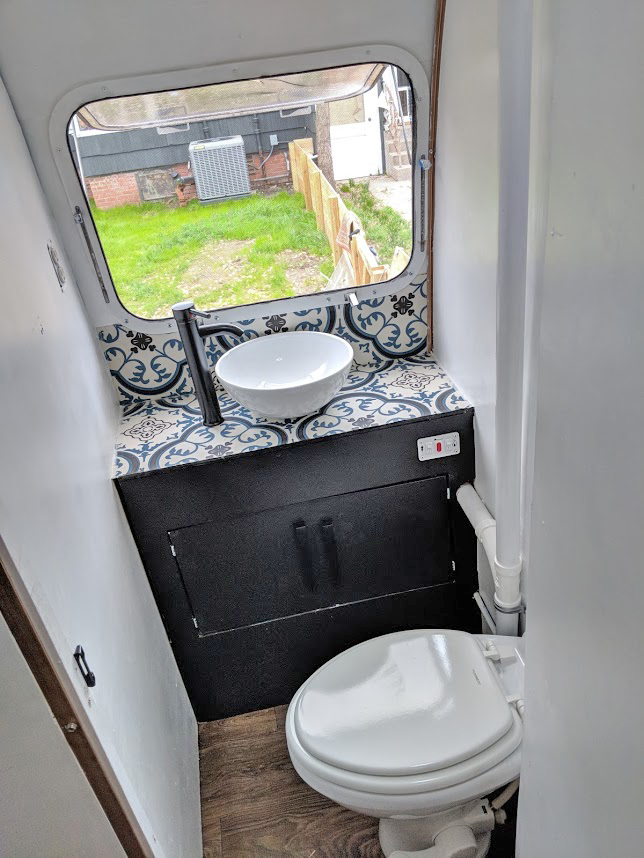
Bathroom Cabinet
Once the cabinets were in, we decided to paint them. Once they were painted, I realized I didn’t like them painted! But, that was that. I wasn’t about to sand them all back down and stain them.
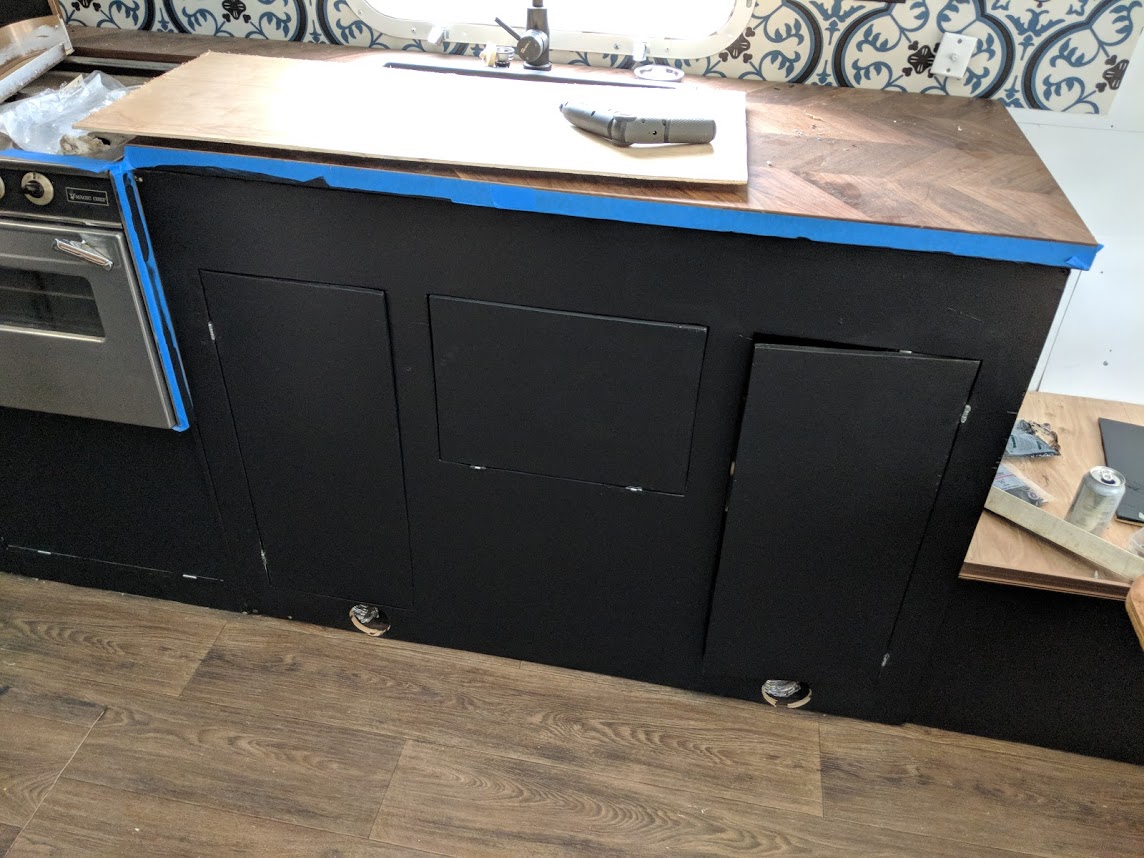
Painting Airstream cabinets
I should have stained them in the first place. For now, I can live with the cabinets the way they are. The biggest gripe I have is that we painted the cabinets black so dust and dirt shows up really well, both in person and in a photo.
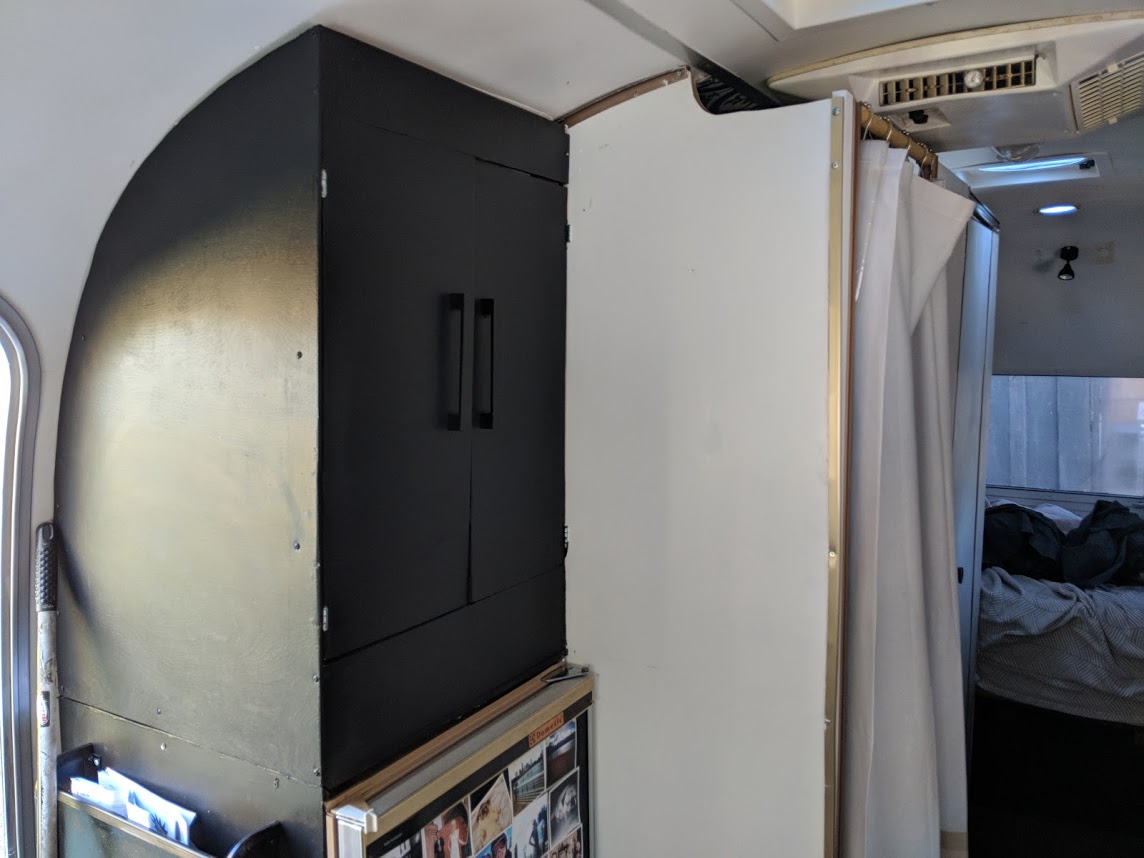
Airstream Pantry above fridge
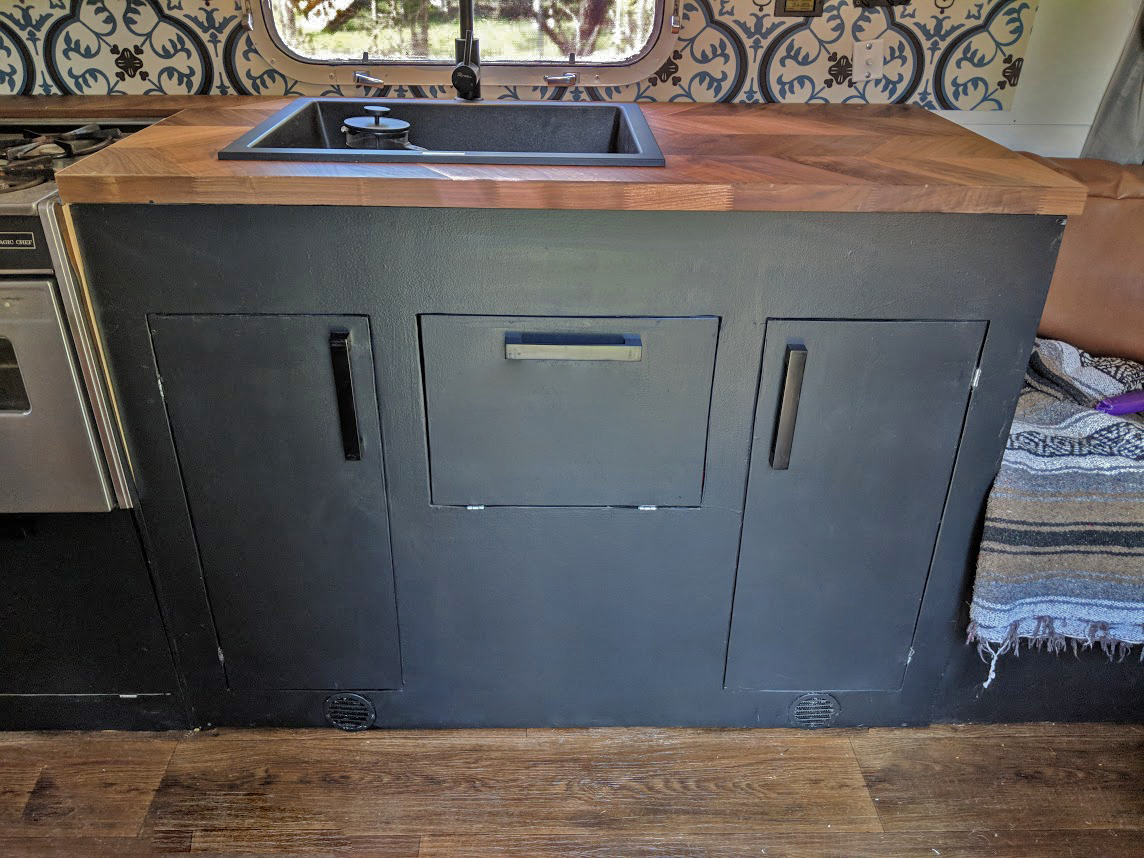
So far, I’ve traveled with the trailer on the road and all of my cabinets seem to be holding steady. No cracks or breakage yet. I hope they stay put for a long, long time.

