Converting a rear bathroom to a center bath in an Airstream, Part 1
The renovation of a vintage Airstream should always include fixing up the bathroom. It’s a difficult process, dependent on your goals for the layout of your trailer. For us, we knew we wanted to move the rear bath to the mid-section of the Argosy. Typically, what you will find lurking underneath the bathroom in the rear is floor rot.

Rear bathroom sink
After years of leaks from the shower, leaks from the windows and leaks from the outside rear end, you’ll find that the corners and edges are just about gone! That was the case in the Argosy. Along with floor rot, our bathroom was old, dated, yellow and NASTY. It had to go.
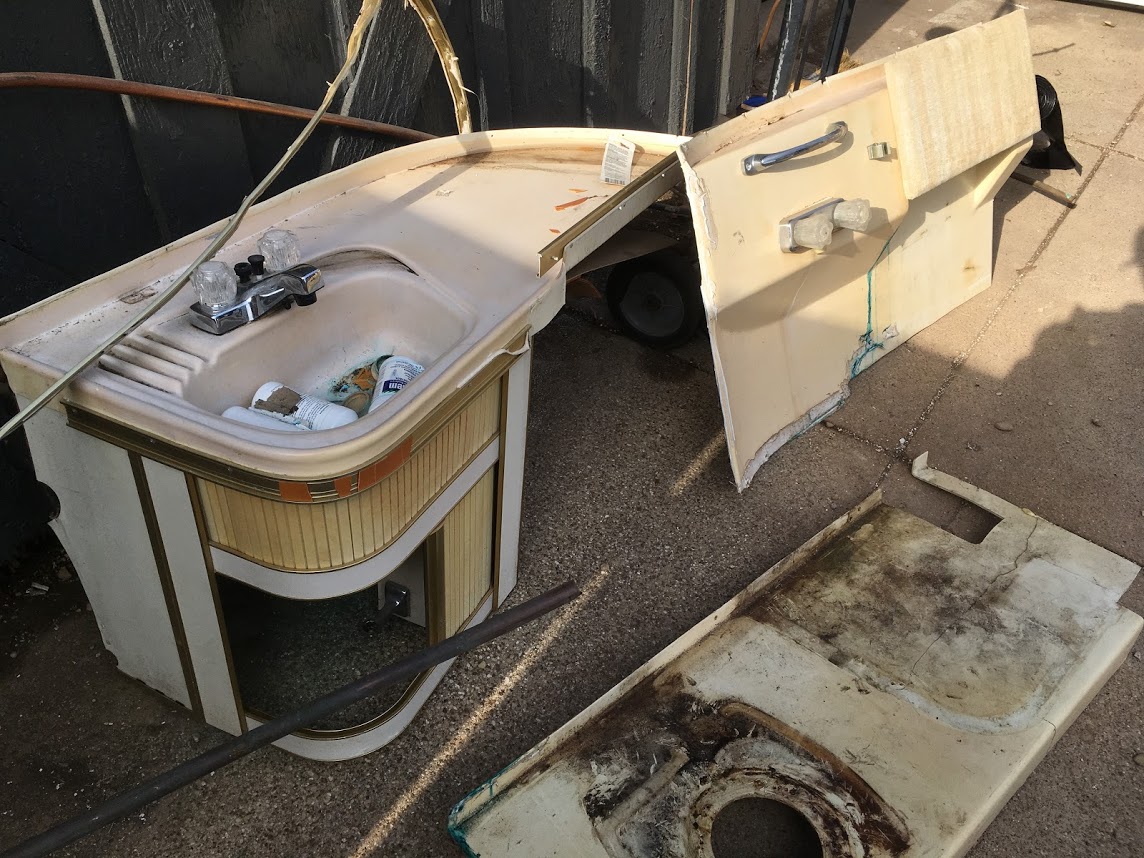
Airstream Rear Bathroom Removed from Trailer
Moving an Airstream Bathroom
After demoing the trailer, we started working on the layout. Moving the bathroom was going to take some interesting work. We needed to move the plumbing, and move the tanks. But, we didn’t just have to move the original tanks, we needed to upgrade to bigger ones.
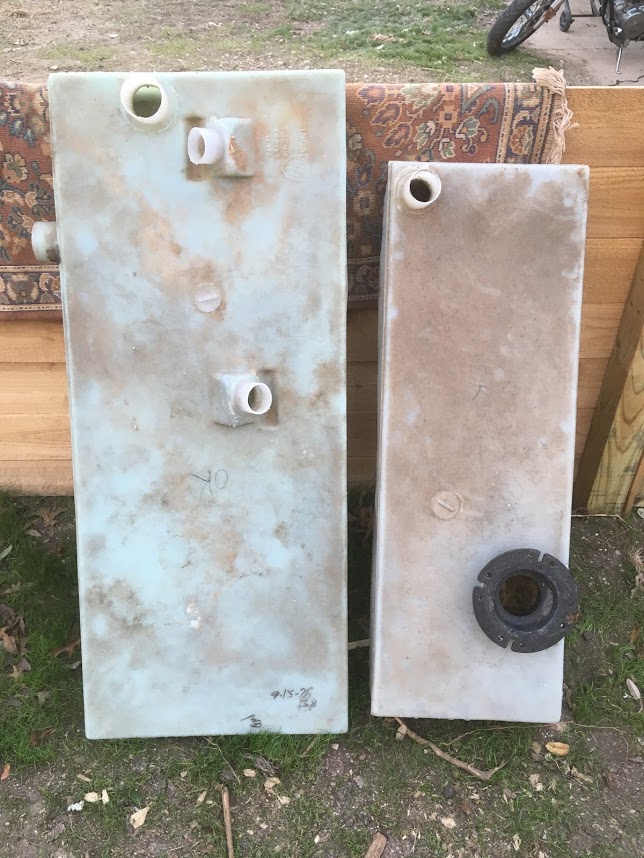
Original tanks from 1977 Airstream Argosy
We like to boondock for extended periods and the tanks from the Argosy were very small and didn’t hold much water and….other stuff. Also, the vents and the drains weren’t going to line up.
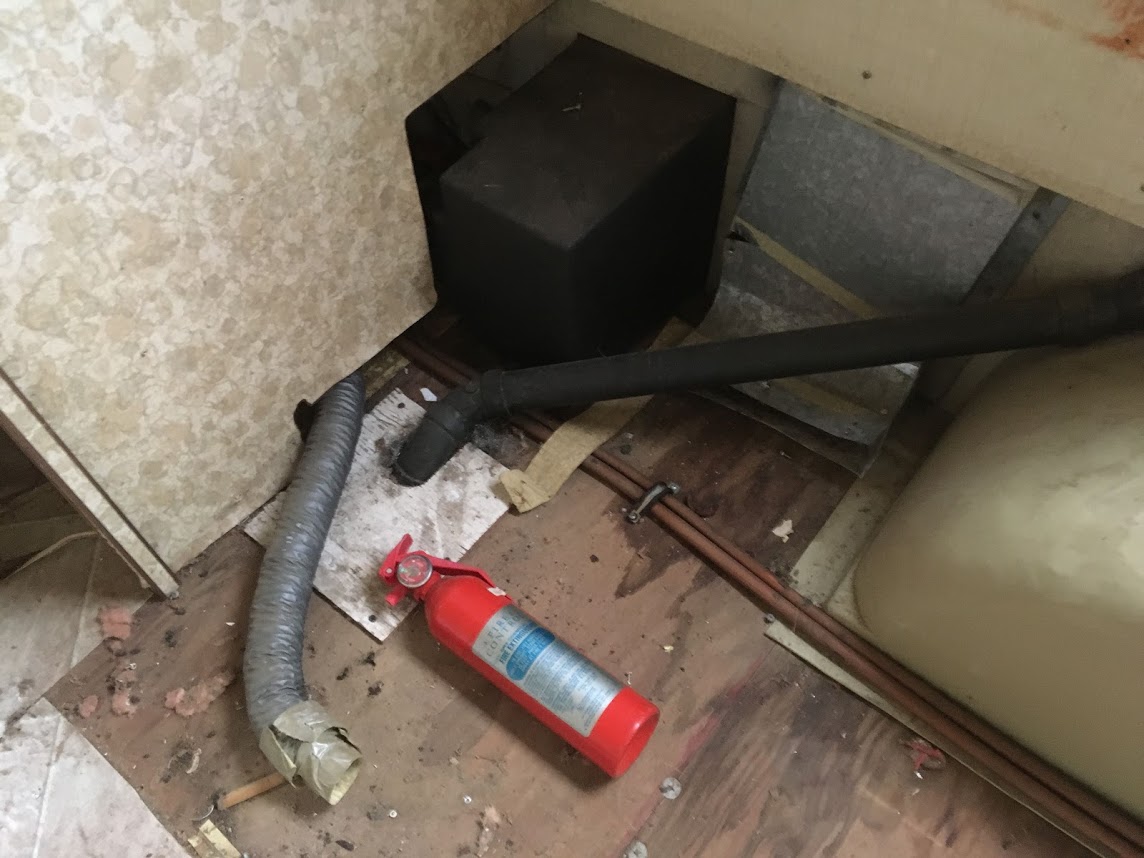
Drain lines to gray tank from the kitchen
Now, I love to be able to reuse as many original parts as possible. The tub in the old Airstreams is usually curved for the back corner, so I thought we might have to find something else to work. I looked up standard RV tubs and showers. There are many types available, but none that I liked, or the reviews weren’t up to my standards. Words I saw were CHEAP, FLIMSY, CRACKED. Then, I took a look at the modern Airstream shower set up. It is nice! I know from experience in the 2012 Airstream International that the shower is a nice unit, that is well constructed. But, it is expensive. As in, more than $1200! That is just for the parts! WOW!
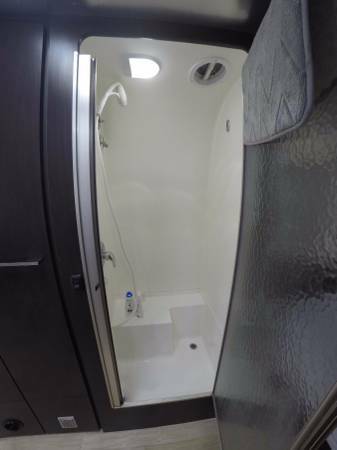
Modern Airstream Mid bath and shower
That’s about when I took a good hard look at the old curved tub and decided to make it work. I took the curved tub and made it like new. I scrubbed it down and removed the mountain of caulk that was stuck to it. Then, I painted it a shiny white waterproof paint. Look for tub and tile paint if you plan to do this yourself.
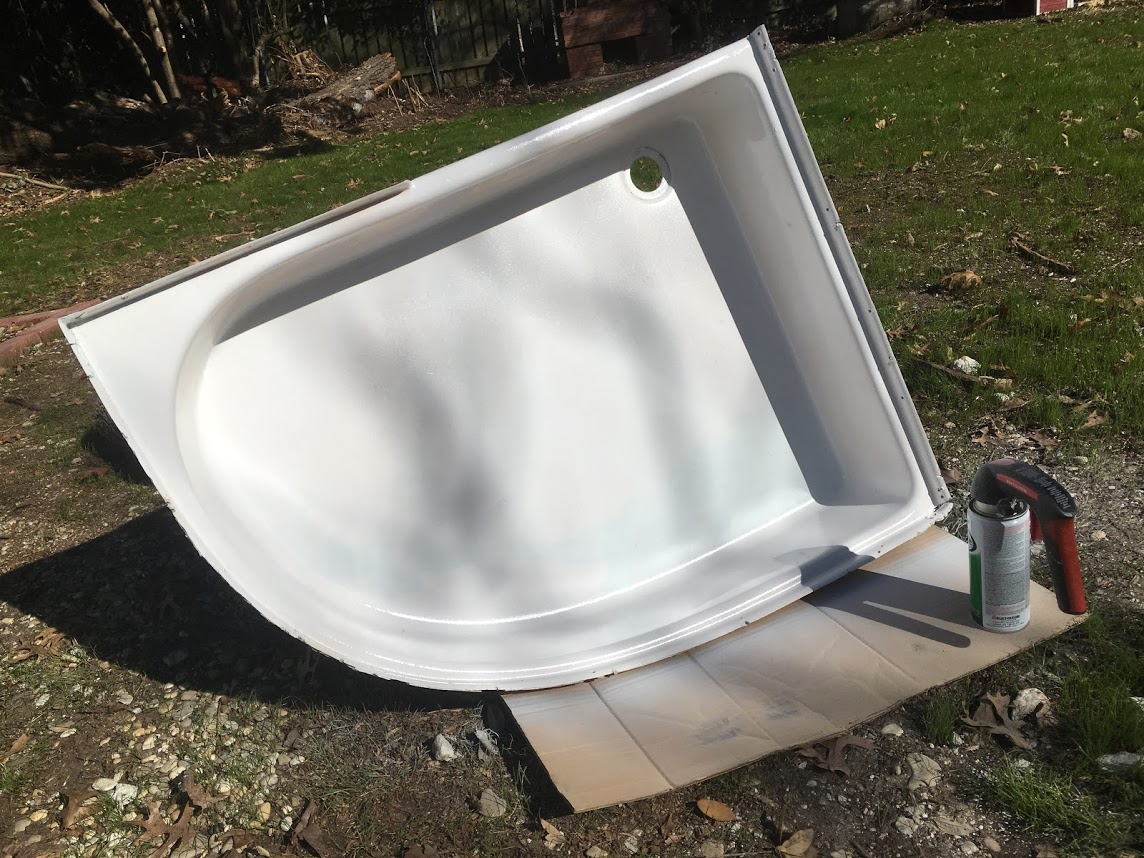
Painted Airstream Curved Bathtub
Upgrading Airstream Tanks
Before I started the interior bathroom, I took a ton of measurements and stared at the underbelly for a ridiculous amount of time. I went back and forth in my head on what tanks to get, and how I would fit them. I ended up with two tanks, each around 40 gallons. These are the type that use grommets instead of spin welding. I forgot to take some photos of the tanks but here is the stock image. I found both the tanks and the grommets on Amazon. You can find some videos on YouTube on how to install the grommets in the tanks.
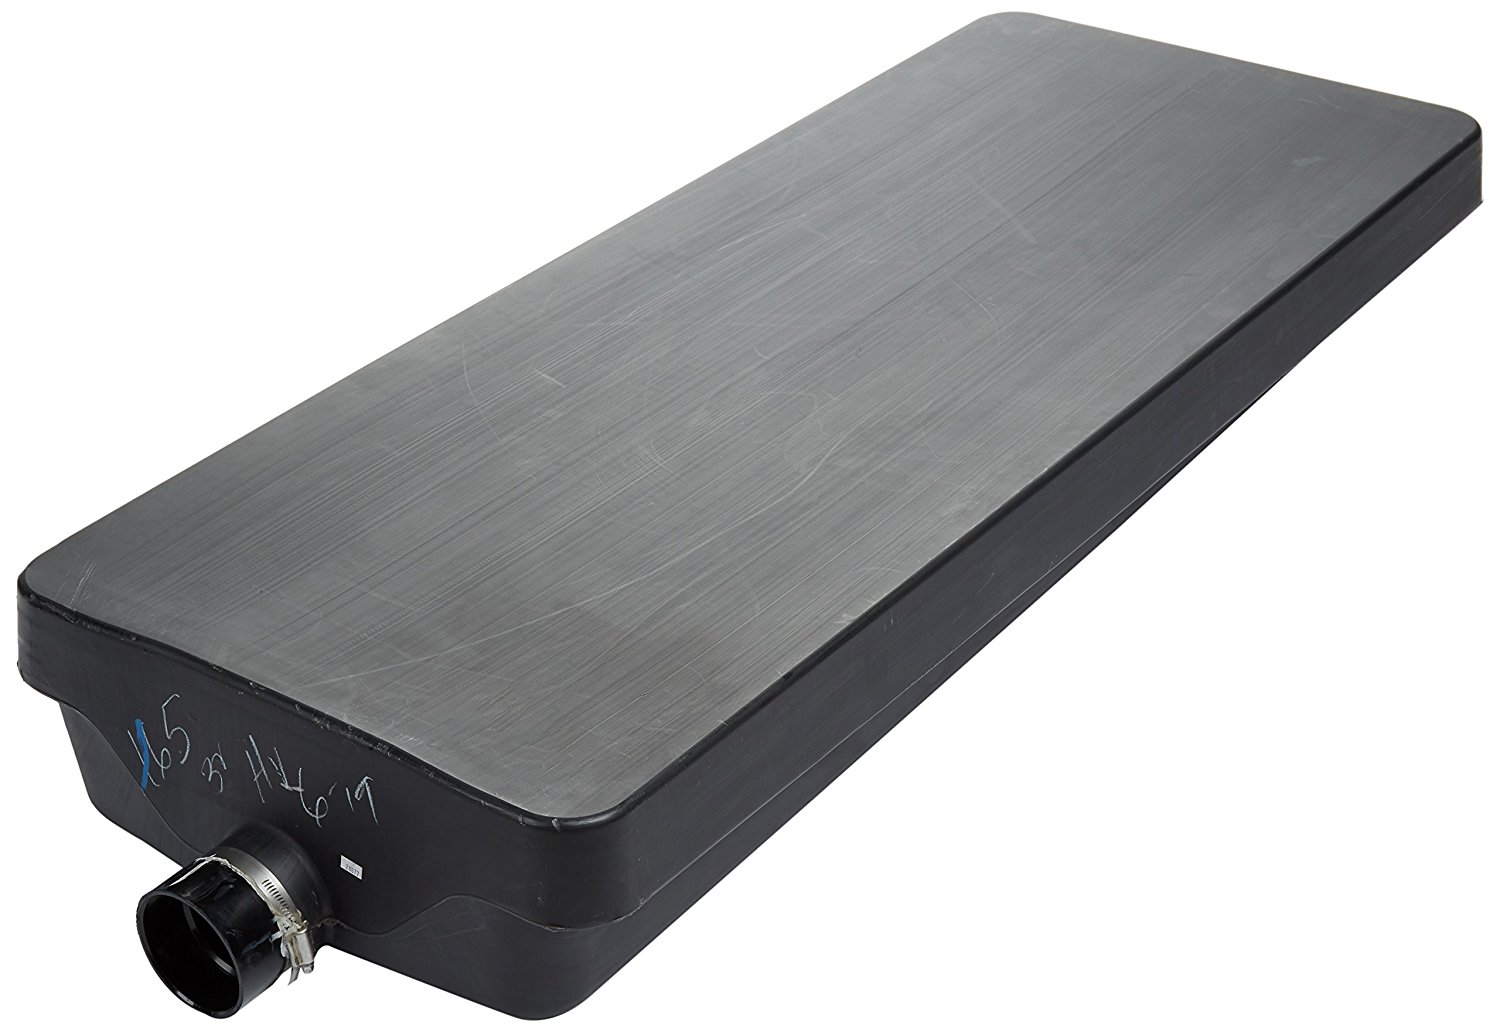
New tank from Amazon
I should say there are some nice tanks on Vintage Trailer Supply. You provide them with measurements and they spin weld them into the tanks permanently. This works if you know exactly what you’re doing or going back to original. In the Globetrotter, I used one of their tanks and it was perfect. In this trailer, I wasn’t exactly sure about the dimensions and how everything would line up, just yet.
See part 2 for the finished bathroom
Mr. TCP

